
Figma MCP Server: AI-Powered Design Workflow — From Installation to PR Submission
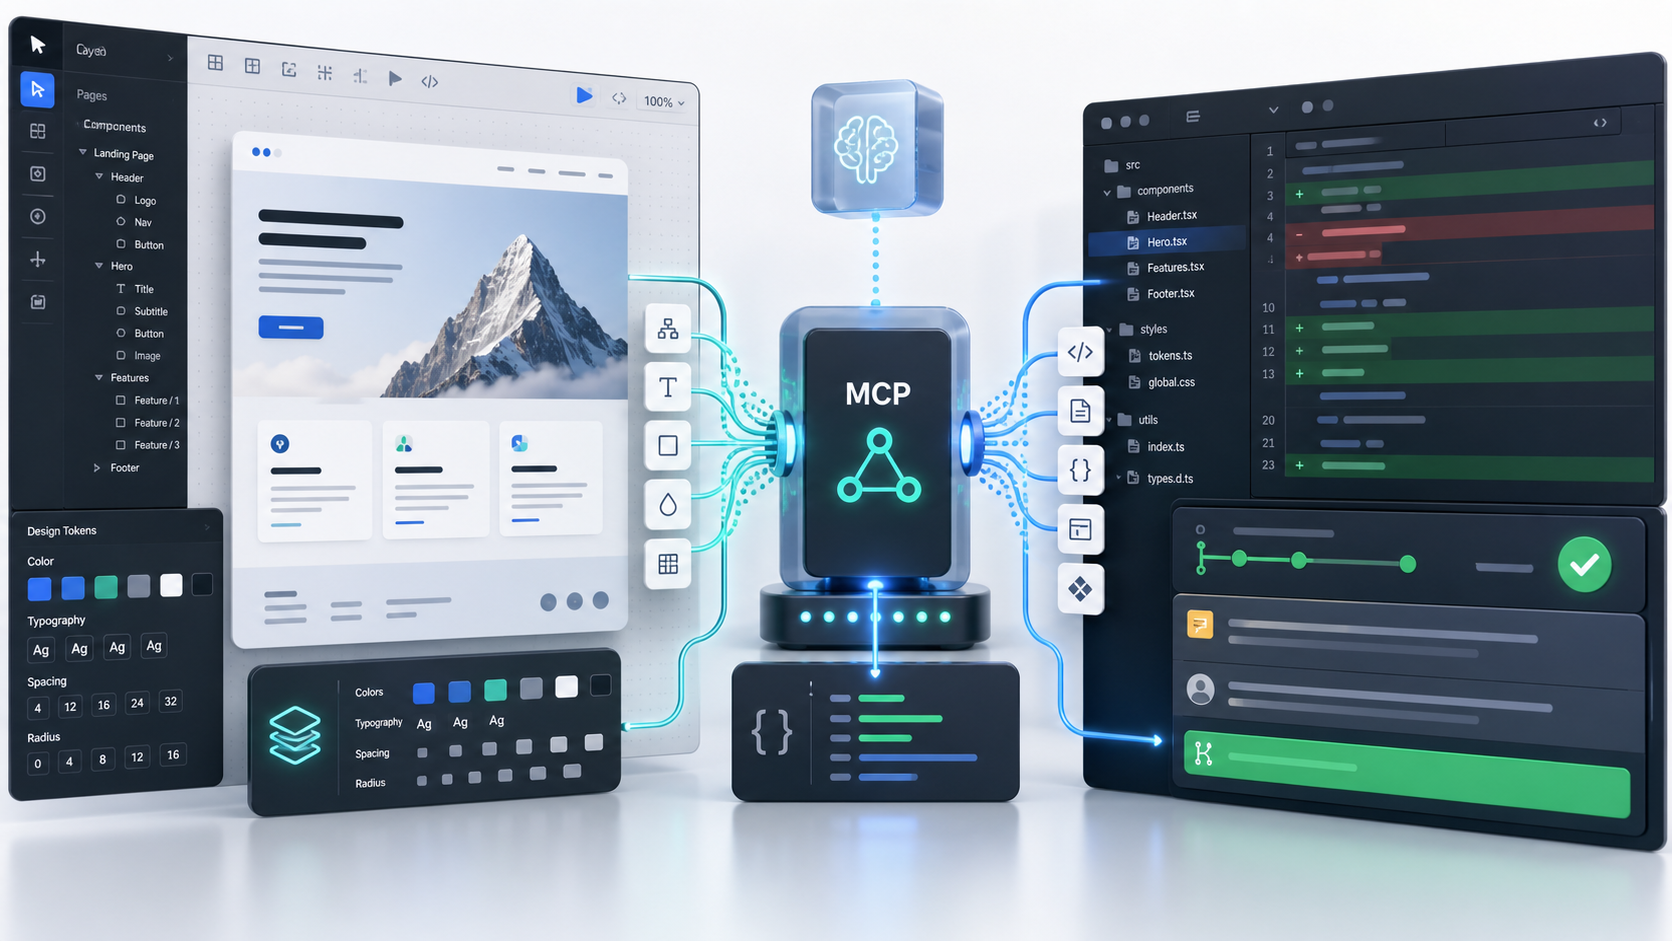
Figma MCP Server: AI-Powered Design Workflow — From Installation to PR Submission
You can let an AI agent explore your Figma canvas and generate a PR — here's the exact setup.
Most designers and frontend developers working with AI tools hit the same wall: they know AI can help, but they have no clear path for wiring it into Figma in a way that produces real, usable output. The result is a fragmented workflow where design and code still live in separate worlds, with manual handoffs eating up hours that automation should reclaim.
The Figma MCP (Model Context Protocol) server changes this. It creates a structured bridge between your Figma files and an AI agent, allowing that agent to read canvas state, interpret design tokens, navigate component trees, and ultimately generate code changes that feed directly into a pull request. This walkthrough covers the full setup, from installing the MCP server to the moment an engineer receives a reviewable PR.
Installing and Configuring the Figma MCP Server
What Is MCP and Why Does It Matter for Figma?
Model Context Protocol is an open standard that defines how AI agents communicate with external tools and data sources. Instead of writing one-off integrations for every tool, MCP gives agents a consistent interface to query context, execute actions, and return structured results.
For Figma, this means an AI agent can be given access to your design canvas as a live, queryable resource — not just a static export. The agent can traverse frame hierarchies, read layer properties, extract styles, and understand component relationships without needing a human to explain the structure manually.
This is fundamentally different from exporting a PNG and asking an AI to interpret it. With MCP, the agent works with structured data. That precision is what makes code generation reliable enough to put in front of an engineer.
Prerequisites Before You Install
Before touching the MCP server, make sure you have the following in place:
- Node.js 18+ installed on your machine
- A Figma account with access to the files you want to work with
- A Figma Personal Access Token (generated from your account settings under API)
- An AI agent environment that supports MCP — Claude Desktop, Cursor, or a custom agent loop built on an MCP-compatible SDK
- A Git repository connected to the codebase you want to update
Try LycheeIP for Global UI Validation
If you are using Cursor or a similar AI-native IDE, MCP server support is typically available as a configuration option in settings. For Claude Desktop, you configure MCP servers through the application's config file.
Installing the Figma MCP Server
The Figma MCP server is available as an npm package. Install it globally or as a project dependency:
npm install -g @figma/mcp-serverOnce installed, you need to configure it with your Figma credentials. Create or update your MCP configuration file. For Claude Desktop, this is typically located at:
~/Library/Application Support/Claude/claude_desktop_config.jsonAdd the Figma server entry:
{
"mcpServers": {
"figma": {
"command": "npx",
"args": ["@figma/mcp-server"],
"env": {
"FIGMA_ACCESS_TOKEN": "your_personal_access_token_here"
}
}
}
}
Replace the token placeholder with your actual Figma Personal Access Token. Save the file and restart your agent environment.
Verifying the Connection
Once restarted, the agent should have access to a set of Figma tools. You can verify this by asking the agent to list available MCP tools or by running a simple test query:
List the pages in my Figma file with this URL: [your file URL]
If the server is connected correctly, the agent will return the page structure of your file. If you get an error, check that your token has the correct read permissions and that the server process is running without errors in your terminal.
Understanding What the Server Exposes
The Figma MCP server exposes several core capabilities to the agent:
- File navigation: Access pages, frames, and component trees
- Node inspection: Read properties like dimensions, colors, typography, spacing, and opacity
- Component resolution: Identify reusable components and their variants
- Asset export: Trigger image exports for specific nodes
- Comment access: Read design annotations left by team members
These capabilities give the agent enough context to make informed decisions about code structure, not just copy visual properties blindly.
Using an AI Agent to Explore the Figma Canvas
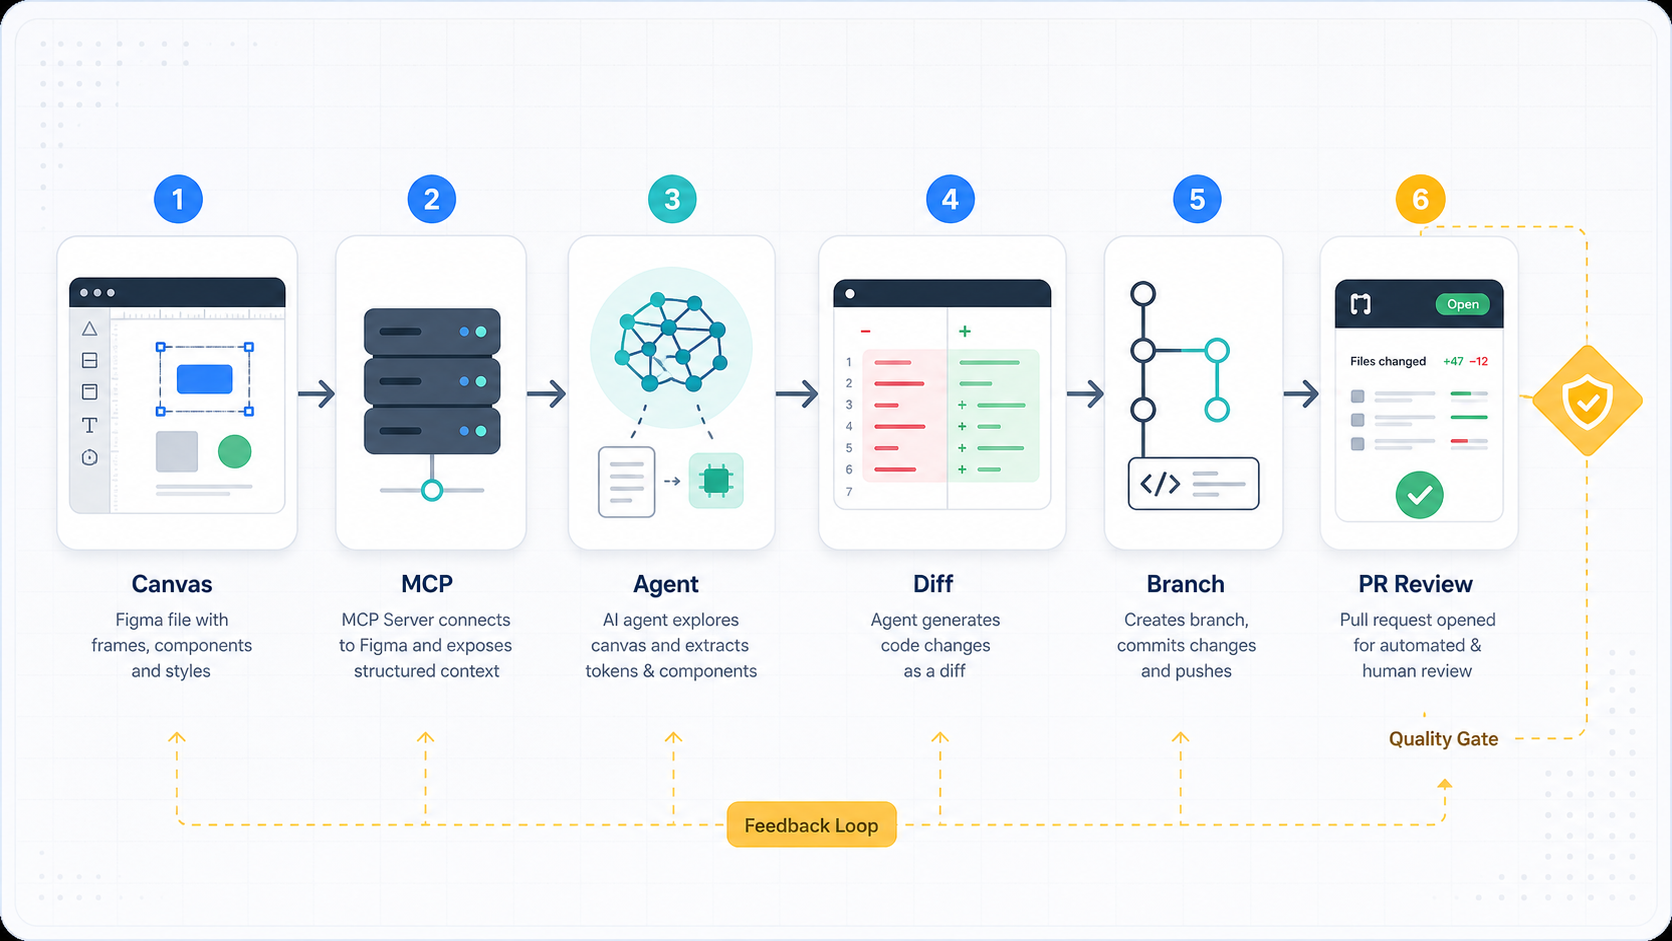
Giving the Agent a Starting Point
Once the MCP server is configured, the real work begins. The agent needs a clear task to orient around. Vague prompts produce vague output. Start with something specific:
Look at the 'Dashboard Redesign' frame on the 'Components' page of this Figma file. Identify all button variants and their states, then map each to its corresponding CSS class in our codebase.
This kind of prompt does several things. It scopes the exploration to a specific frame, defines what the agent should look for, and ties the output to an existing code structure. The agent uses the MCP tools to traverse the canvas, read component data, and return a structured mapping.
Design Exploration Workflows
Design exploration with an AI agent through MCP is most useful in three scenarios:
- Auditing component usage across a file
The agent can scan an entire Figma file and report which components appear most frequently, which have inconsistent usage, and which are defined in the file but never used. This audit would take a designer hours manually. With MCP, it is a single prompt.
- Extracting design tokens
Design tokens — colors, spacing scales, typography styles — are often defined in Figma but need to be translated into code. The agent can read all styles from a file, format them as a token object in JSON or CSS custom properties, and write that output directly to a file in your repository.
Example output structure the agent might generate:
{
"color": {
"primary": "#1A73E8",
"surface": "#FFFFFF",
"on-surface": "#202124"
},
"spacing": {
"xs": "4px",
"sm": "8px",
"md": "16px",
"lg": "24px"
}
}- Generating component scaffolding from a selected frame
Select a specific UI frame and ask the agent to generate a React or Vue component scaffold based on what it reads. It will interpret the layer hierarchy, identify interactive elements, and produce a component structure with appropriate props and placeholder logic.
Working Iteratively on the Canvas
One of the less obvious advantages of MCP is that the canvas data is live. If a designer updates a component in Figma, the agent reads the updated state on the next query. This means you can run a tight iteration loop:
- Designer makes a change in Figma
- Developer asks the agent to re-read the updated component
- Agent identifies what changed and proposes a code diff
- Developer reviews the diff before committing
This loop shortens the feedback cycle between design intent and implementation without requiring the designer to write a spec document or the developer to interpret screenshots.
Handling Edge Cases in Complex Files
Real Figma files are rarely clean. You will encounter:
- Detached instances: Components that were detached from their master and modified locally. The agent will flag these as inconsistencies unless you instruct it to treat them as custom variants.
- Hidden layers: Figma includes hidden layers in its data model. Tell the agent to skip layers with
visible: falseunless you specifically need to inspect draft content. - Nested auto-layout frames: These can be deep and complex. Ask the agent to flatten the hierarchy to a specific depth to avoid overwhelming output.
- Mixed content frames: Frames that combine both design elements and developer annotations may need filtering. Instruct the agent to separate structural layers from annotation layers by naming convention.
Being explicit in your prompts about these edge cases saves time and produces cleaner output.
Completing the Loop: Agent Generates Code and Submits a PR
Connecting the Agent to Your Repository
For the agent to submit a PR, it needs access to your Git repository. Most MCP-compatible agent environments support file system tools alongside Figma tools. In Cursor, the agent already operates within your codebase. In Claude Desktop with additional MCP servers, you can add a filesystem or Git MCP server alongside the Figma one.
At minimum, the agent needs the ability to:
- Read existing files in the repository
- Write or modify files
- Run terminal commands (git checkout, git add, git commit, git push)
- Use the GitHub CLI or GitHub API to open a pull request
If your security policy restricts direct terminal access, you can have the agent output the code changes and a commit message as structured text, which a developer then applies manually. This preserves the value of AI-generated code while maintaining human gatekeeping on repository writes.
The End-to-End PR Workflow
Here is a practical example of the full loop in action:
Step 1: Scope the task
Read the 'Card Component v2' frame in our Figma file. Compare it to the current CardComponent.tsx in our repository. Identify what visual properties have changed and generate a code diff.
Step 2: Agent reads the canvas
The agent uses the Figma MCP server to inspect the updated card frame. It reads padding values, border radius, shadow tokens, and typography changes. It then reads the current component file from the repository.
Step 3: Agent generates the diff
The agent produces a targeted diff — not a full rewrite, just the properties that changed. This is critical. Full rewrites introduce risk. Surgical diffs are reviewable and testable.
Example output:
- border-radius: 8px;
+ border-radius: 12px;
- padding: 16px;
+ padding: 20px;
- box-shadow: 0 1px 3px rgba(0,0,0,0.12);
+ box-shadow: 0 2px 8px rgba(0,0,0,0.16);
Step 4: Agent creates a branch and commits
The agent runs:
git checkout -b design/card-component-v2-updateIt applies the diff, stages the changes, and commits with a descriptive message:
git commit -m "Update CardComponent: border-radius, padding, shadow per Figma v2"Step 5: Agent pushes and opens a PR
Using the GitHub CLI:
gh pr create --title "Design update: Card Component v2" --body "Updates to match Figma frame 'Card Component v2'. Changes: border-radius 8px to 12px, padding 16px to 20px, shadow updated. Ref: [Figma link]" --base mainThe PR is now in the queue for an engineer to review. The body includes a reference to the Figma frame, making the review straightforward. The engineer can open Figma, compare the frame to the diff, and approve or request changes.
What Good PR Hygiene Looks Like in This Workflow
AI-generated PRs need to meet the same standards as human-written ones. Establish these conventions:
- Branch naming: Use a consistent prefix like
design/to signal that the PR originated from a Figma-driven workflow - PR description template: Always include the Figma frame URL, a summary of visual changes, and any affected components or pages
- Scope limits: Each PR should address one design change area, not bundle multiple unrelated updates
- Test coverage note: Flag whether the changes require updated snapshot tests or visual regression test updates
Reviewing and Merging
The engineer review step is where human judgment remains essential. The agent can translate design intent into code accurately, but it cannot know:
- Whether a design change conflicts with a responsive breakpoint rule
- Whether a shadow change affects accessibility contrast in dark mode
- Whether a spacing change breaks a grid system constraint
The PR review is not a formality in this workflow. It is the quality gate that ensures AI-generated changes are sound in context.
LycheeIP Context
Explore LycheeIP for Geo-Testing
This article focuses on AI-driven design workflows, but there is a relevant intersection with proxy infrastructure worth understanding.
Teams building design systems for multi-region products often need to validate how UI components render across different geographies, particularly when localized content, RTL text, or locale-specific assets affect layout. This is where geo-testing proxies become part of the broader workflow.
A proxy infrastructure provider like LycheeIP can support teams that need to verify how their frontend renders in specific regions — whether that is checking localized font rendering, testing CDN asset delivery latency, or confirming that geo-based feature flags display the correct UI variant. Residential proxies and static residential proxies are commonly used for this kind of environment simulation, routing test traffic through real IP addresses in target regions to produce accurate results.
This is not about the Figma MCP workflow itself, but about what happens after the PR merges — validating that design changes work correctly in the real-world environments your users are in.
Common Mistakes and Considerations
Suggested video: Figma MCP server and AI design-to-code workflow explainer
Watch on YouTubeMistakes to Avoid
Over-trusting agent-generated code without review
AI agents reading Figma data can misinterpret layer intent. A frame labeled "hover state" might be read as a separate component rather than a CSS state. Always review diffs before merging.
Using an outdated Figma Personal Access Token
Tokens can expire or be revoked. If the MCP server connection fails intermittently, regenerate your token and update the config file.
Not scoping the agent's exploration
Large Figma files with hundreds of frames will overwhelm an agent without clear instructions. Always specify the file, page, and frame before asking for analysis.
Skipping branch isolation
Running AI-generated changes directly on main or a shared development branch is risky. Always use isolated feature branches for this workflow.
Ignoring hidden or draft layers
Figma files often contain work-in-progress frames that designers have not cleaned up. Agents will read these unless instructed otherwise, which can produce confusing output.
Practical Considerations
- MCP server support varies across agent environments. Verify your specific tool supports MCP before investing time in configuration.
- The Figma API has rate limits. For large files with many nodes, the agent may need to paginate requests. Factor this into expected query time.
- Token-based access means the MCP server has the same permissions as your Figma account. Use a dedicated API token with the minimum required scope.
- If your team uses Figma branching (not Git branching), decide upfront whether the agent should read from the main file or from a specific Figma branch.
Conclusion
The Figma MCP server makes it practical, not just theoretically possible, to integrate AI agents into the design-to-code loop. By connecting a structured Figma data interface to an agent that can read, reason, and write code, teams can close the gap between design intent and implementation without the manual translation work that currently slows most frontend workflows.
The setup is straightforward if you follow the configuration steps carefully. The real value emerges in consistent use: establishing conventions for how agents explore the canvas, how diffs are scoped, and how PRs are structured for human review. Done well, this workflow does not replace the designer or the engineer — it removes the low-value handoff work between them and redirects attention toward decisions that require human judgment.
Start with a single component, run the full loop once, and refine from there.
Frequently Asked Questions
What is the Figma MCP server and how does it work?
The Figma MCP server is a Node.js process that implements the Model Context Protocol, giving AI agents structured access to Figma file data. It connects to the Figma API using a personal access token and exposes tools that let agents read canvas structure, component properties, design tokens, and layer data without needing a human to manually extract that information.
Which AI agent environments support the Figma MCP server?
The Figma MCP server works with any MCP-compatible agent environment. The most commonly used options are Claude Desktop and Cursor. Custom agent loops built on MCP-compatible SDKs (such as the Anthropic SDK or open-source MCP libraries) can also be configured to use it.
Do I need coding experience to use this workflow?
You need basic familiarity with the command line to install the server and edit a JSON config file. The agent handles most of the code generation, but understanding what a git branch and pull request are is necessary to manage the final step of the workflow.
Can the agent write code in any framework, or is it limited to React?
The agent is not framework-limited. You can instruct it to generate React, Vue, Svelte, or plain HTML and CSS output. Be explicit in your prompt about the target framework and any naming or structure conventions your codebase uses.
How does the agent handle complex Figma files with hundreds of frames?
Large files require scoped instructions. Always specify the page, frame, and depth of exploration in your prompt. Without scoping, the agent may attempt to process too much data, producing slow or unfocused output. For large audits, break the task into multiple targeted queries.
Is it safe to give the MCP server my Figma Personal Access Token?
The token is stored in your local config file and is only used by the MCP server process running on your machine. Use a dedicated token created specifically for MCP access, and set the minimum required permissions. Avoid sharing your config file or committing it to a public repository.
What happens if a designer updates a Figma component after the agent has already read it?
The MCP server reads live data from the Figma API on each query. If a designer updates a component, the next agent query will return the updated state. This is intentional — it allows iterative loops where design changes are reflected in code updates without manual re-export steps.
How should the PR description be structured for agent-generated changes?
A good PR description for this workflow should include: the Figma file and frame URL, a summary of what visual properties changed, which code files were modified, and a note about whether snapshot or visual regression tests need to be updated. This gives engineers enough context to review without needing to ask the designer for details.
Can this workflow be used for design token updates, not just component changes?
Yes. Design token extraction is one of the strongest use cases for the Figma MCP workflow. The agent can read all styles from a Figma file, format them as a JSON token file or CSS custom properties, and write the output directly to your repository. This keeps design token definitions in Figma as the source of truth.
Does the agent replacing the manual design-to-code handoff remove the need for designer-developer collaboration?
No. The agent handles the mechanical translation work, but it cannot make judgment calls about responsive behavior, accessibility implications, or system-level constraints. Designer-developer collaboration shifts from explaining visual properties to reviewing whether the implementation is contextually correct — which is a higher-value use of both roles.

Recommended Articles
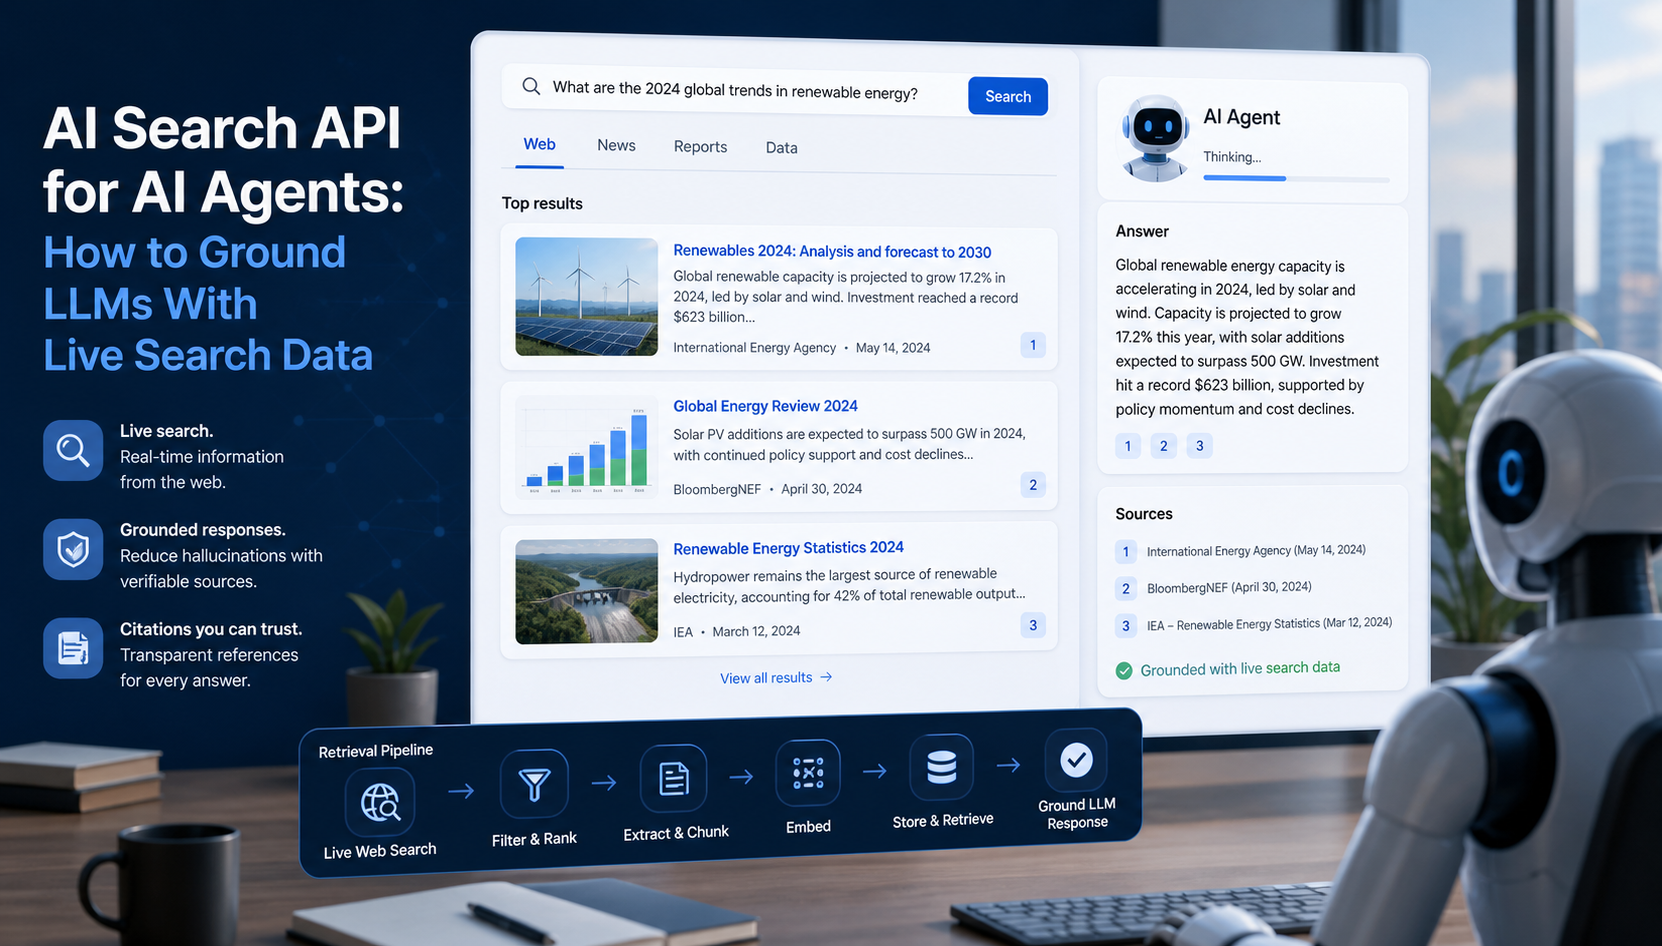
AI Search API for AI Agents: How to Ground LLMs With Live Search Data
An AI search API gives an application or agent programmatic access to current search results. Its most useful role is discovery: the agent can find candidate sources, identify fresh information, and decide what to retrieve next instead of relying only on model memory.
View Details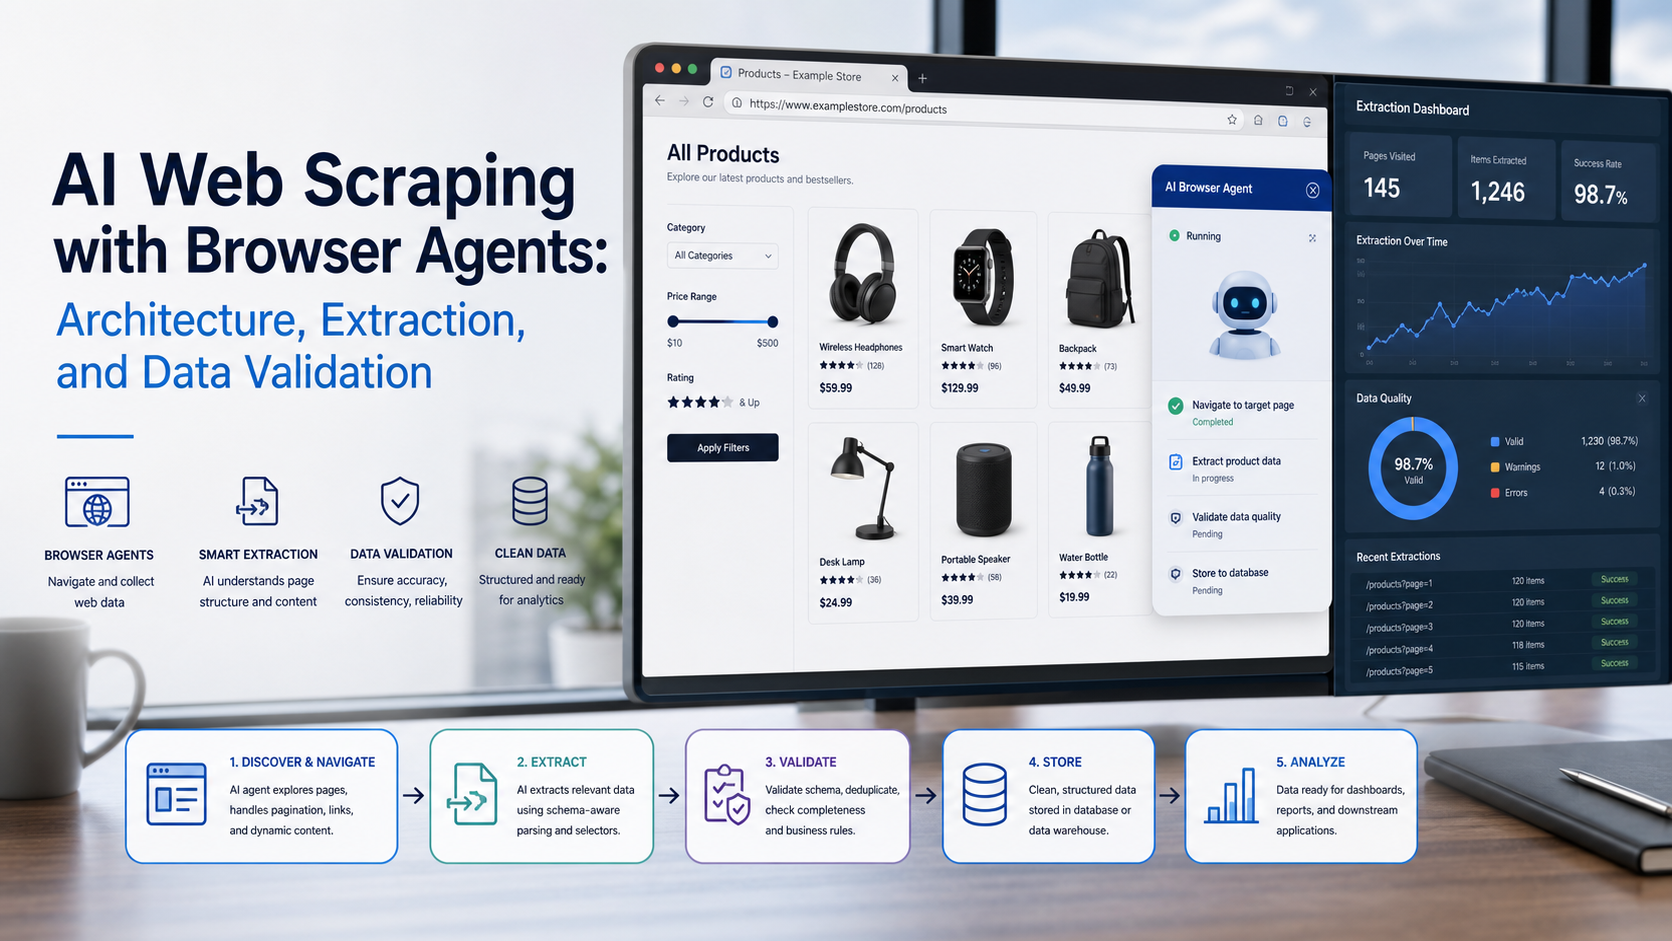
AI Web Scraping with Browser Agents: Architecture, Extraction, and Data Validation
AI web scraping uses AI to help discover, navigate, interpret, or extract information from websites. Browser agents are one implementation option when page interaction, rendering, or layout variation makes a simple scraper too brittle, but the agent should not become the entire data pipeline.
View Details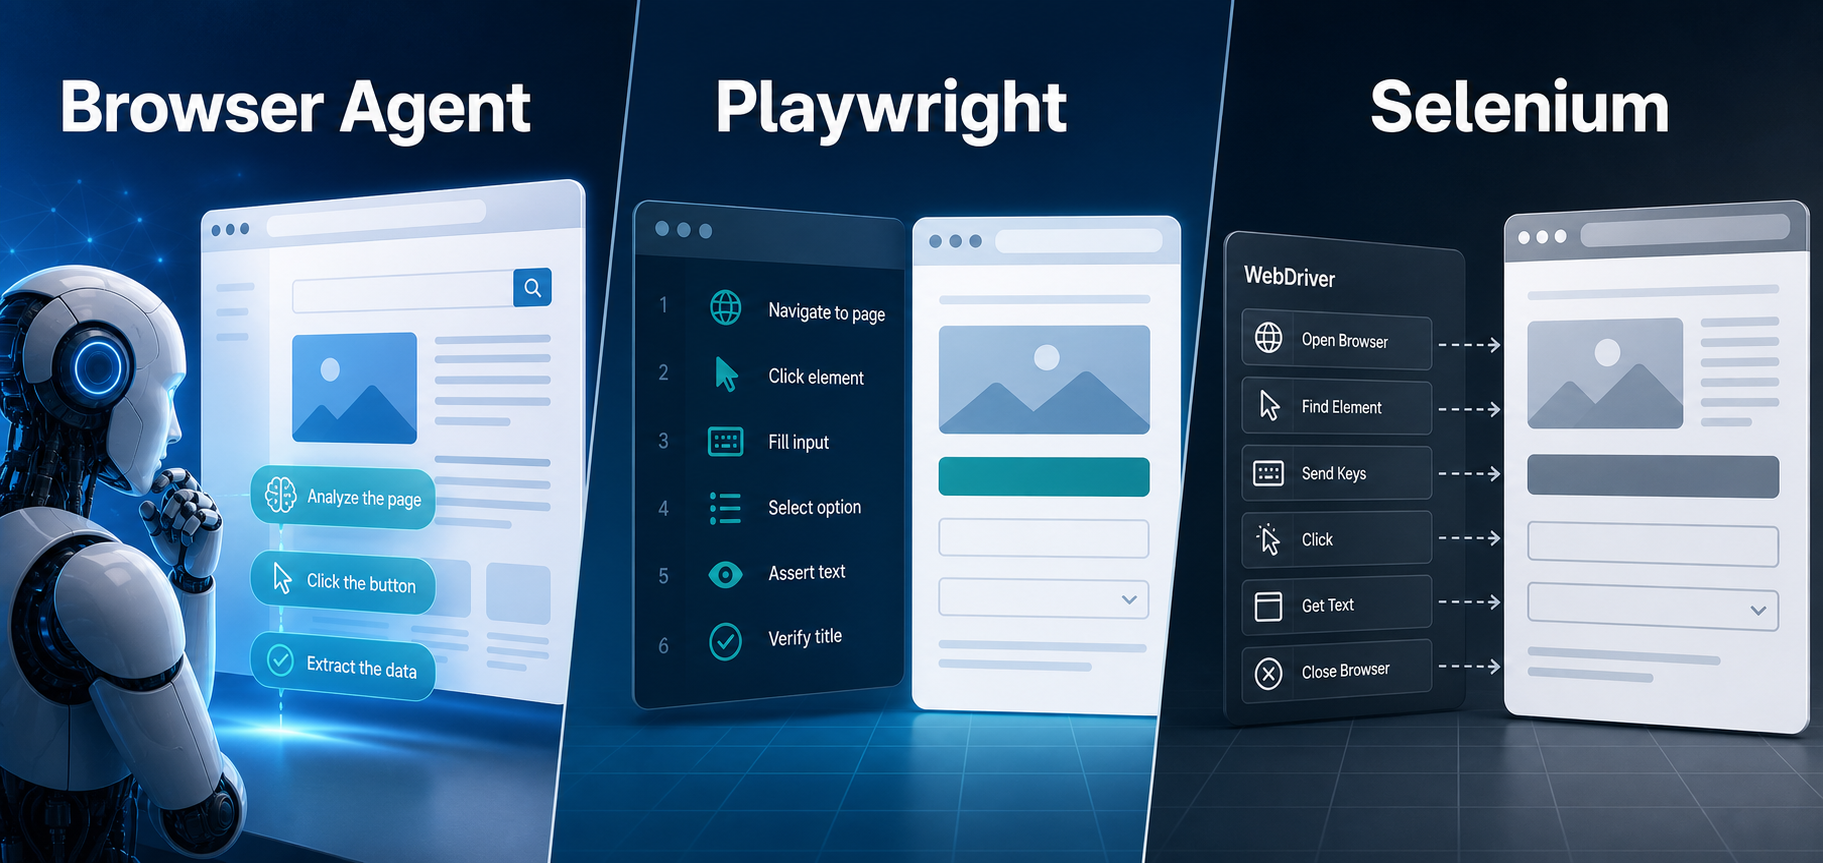
AI Browser Automation: Browser Agents vs Playwright vs Selenium
A browser agent interprets a goal and decides what browser action to take next. Playwright and Selenium can execute explicit, testable browser logic defined by developers. In 2026, however, Playwright also provides official MCP and agent-oriented workflows, so Playwright is no longer just the deterministic alternative to agentic automation. It can also serve as the browser-control layer inside an agent system.
View Details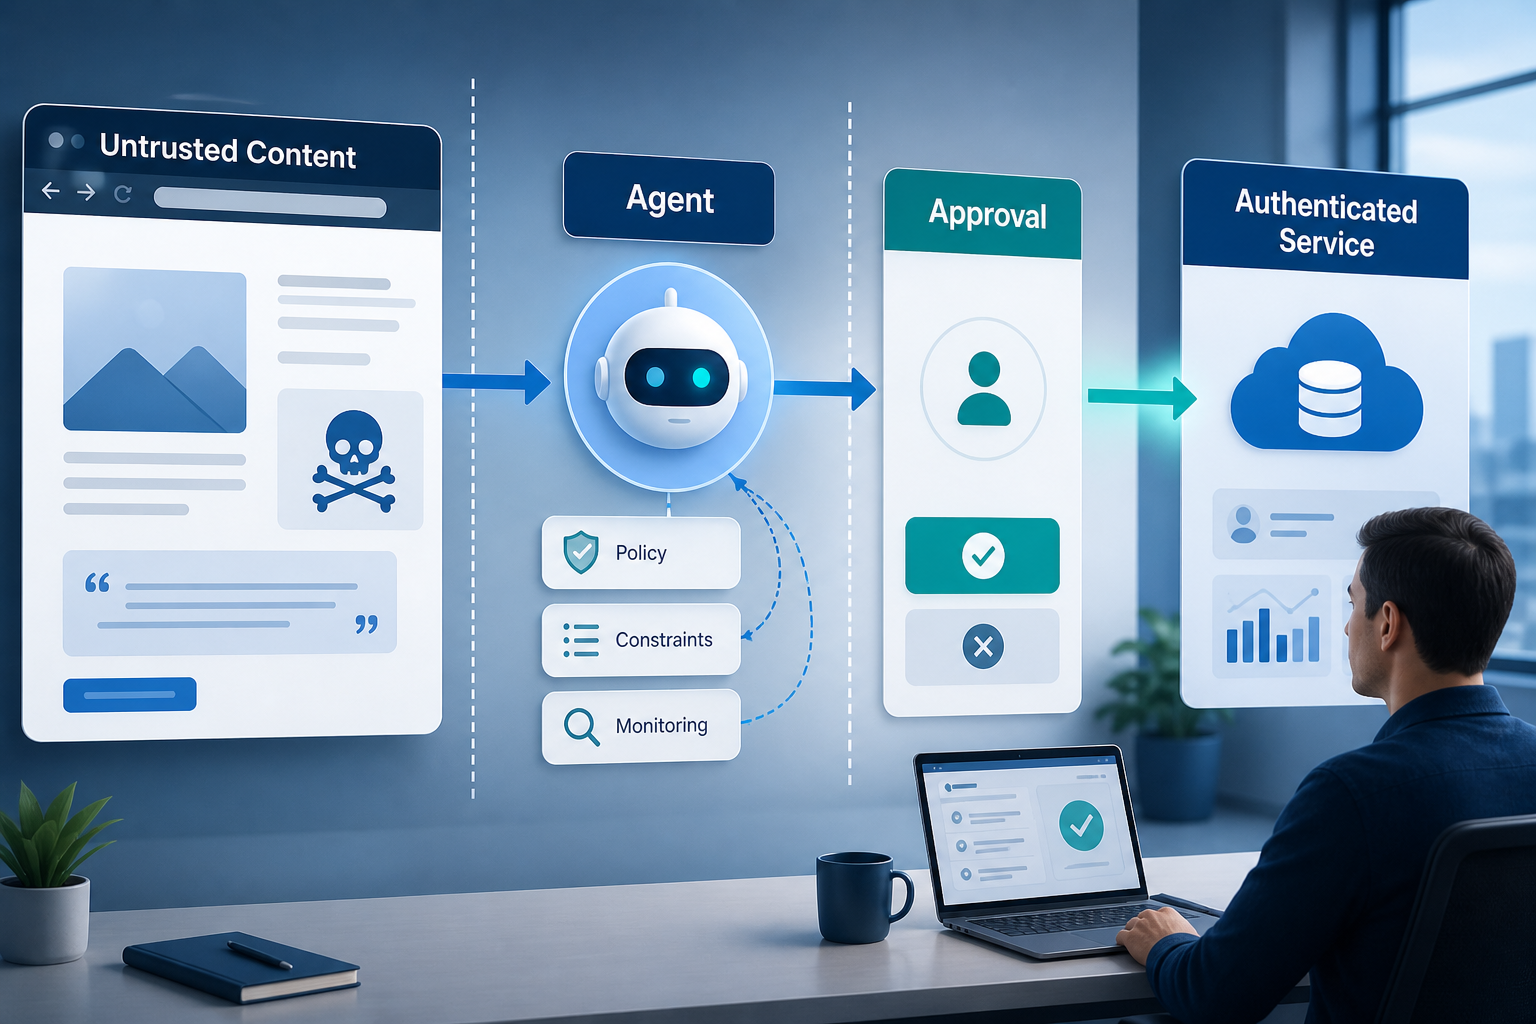
Agentic Browser Security: Prompt Injection, Permissions, and Safe Deployment
That combination creates risks that are different from ordinary browsing and traditional automation. The most important is indirect prompt injection, where hostile instructions hidden in web content attempt to redirect the agent away from the user's goal. Google describes indirect prompt injection as a primary new threat for agentic browsing and has introduced layered defenses that include origin constraints, independent action checks, threat detection, and user confirmation for sensitive actions. Google's Chrome security architecture is a useful reference for how browser-agent defenses are evolving.
View Details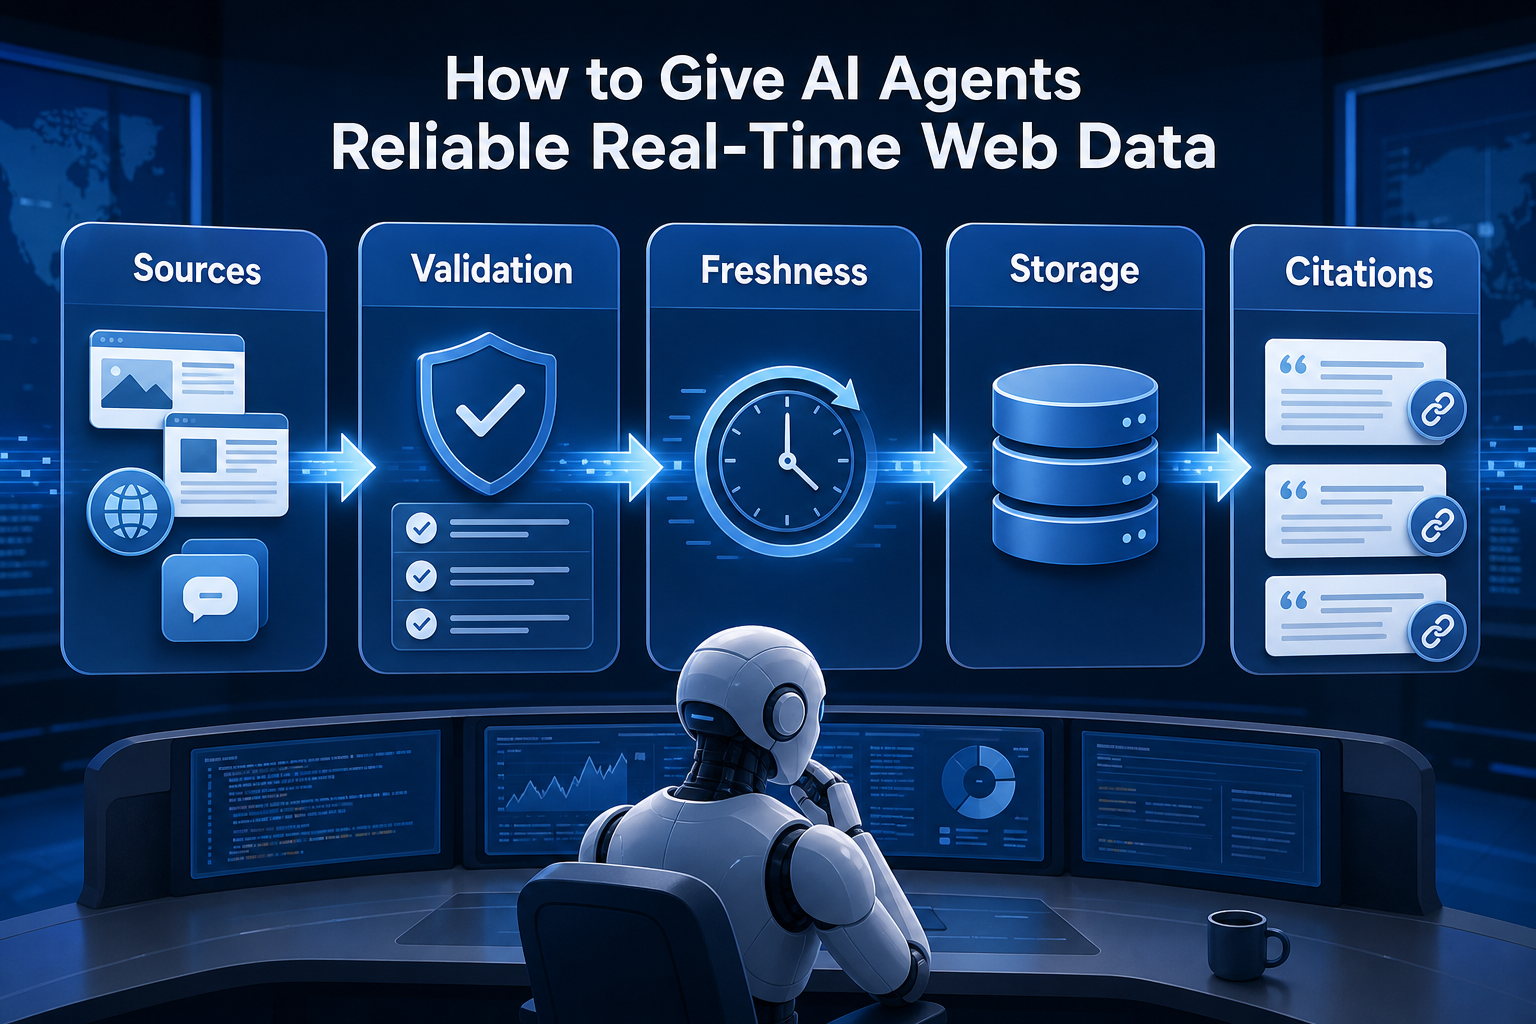
How to Give AI Agents Reliable Real-Time Web Data
A production-ready solution therefore needs more than a web scraper. It needs a web data layer that connects acquisition, validation, storage, retrieval, security, and observability. This guide explains how to design that layer.
View Details