
How to Setup Anti-Detect Browser for Beginners
How to Setup Anti-Detect Browser for Beginners
Never used an anti-detect browser? Here's the complete setup guide.
If you're new to managing multiple online accounts, protecting your digital privacy, or running e-commerce operations, anti-detect browsers might seem intimidating at first. The setup process involves unfamiliar terms like "browser fingerprinting," "residential proxies," and "canvas spoofing." But here's the truth: getting started is far simpler than you think.
This comprehensive guide walks you through every step of setting up an anti-detect browser from scratch, no prior technical knowledge required. Whether you're managing social media accounts, trading on platforms like Xbankang, or simply want enhanced online privacy, you'll learn exactly how to install, configure, and verify your setup for maximum security.
Use LycheeIP residential proxies
What Is an Anti-Detect Browser?
Before diving into setup, let's clarify what we're working with. An anti-detect browser is specialized software that allows you to create multiple isolated browser profiles, each with a unique digital fingerprint. Unlike standard browsers, these tools prevent websites from linking your different accounts together.
Every time you visit a website, your browser reveals dozens of identifying data points: your screen resolution, timezone, installed fonts, WebGL renderer, and more. Websites combine these signals to create a "fingerprint" that tracks you across the web. Anti-detect browsers randomize or spoof these parameters, making each profile appear as a completely different user on a different device.
Common use cases include:
- Managing multiple business accounts without getting flagged
- E-commerce and dropshipping operations
- Affiliate marketing with multiple profiles
- Privacy-conscious browsing and online transactions
- Social media management
- Secure cryptocurrency trading across platforms
Now let's get you set up.
Act 1: Installing and Creating Your First Browser Profile
Step 1: Choose Your Anti-Detect Browser
Several quality options exist for beginners:
GoLogin – User-friendly interface, affordable pricing, good for beginners
AdsPower – Free plan available, excellent for social media management
Multilogin – Professional-grade, higher price point
Dolphin Anty – Popular among affiliate marketers
Kameleo – Strong mobile fingerprinting support
For this guide, we'll use general principles that apply to most platforms, though screenshots may vary slightly between providers.
Beginner recommendation: Start with GoLogin or AdsPower. Both offer free trials and have intuitive interfaces perfect for first-time users.
Step 2: Download and Install
1. Visit the official website of your chosen browser (always verify the URL to avoid phishing sites)
2. Create an account using a secure email address
3. Download the application for your operating system (Windows, macOS, or Linux)
4. Run the installer and follow the on-screen prompts
5. Launch the application and log in with your credentials
The installation typically takes 3-5 minutes. Most anti-detect browsers are lightweight (200-500MB) and won't significantly impact your system performance.
Step 3: Create Your First Browser Profile
Once logged in, you'll see a dashboard with an option to create a new profile:
1. Click "New Profile" or "Create Profile"
2. Name your profile descriptively (e.g., "Facebook Account 1" or "Amazon Seller Profile")
3. Select your operating system – Choose the OS you want websites to detect. For most purposes, Windows 10 or macOS work best as they're most common.
4. Choose a user agent – This tells websites what browser and version you're using. Most tools auto-generate this, but ensure it matches your selected OS.
5. Set screen resolution – Pick a common resolution like 1920x1080 or 1366x768. Avoid unusual dimensions that might flag as suspicious.
Understanding Browser Fingerprints
Your anti-detect browser automatically randomizes dozens of parameters:
- Canvas fingerprint – How your browser renders graphics
- WebGL fingerprint – GPU rendering information
- Audio context – How your system processes sound
- Fonts – List of installed fonts on your "system"
- Timezone and language – Geolocation indicators
- Hardware specifications – CPU cores, memory, etc.
Pro tip for beginners: Use the "auto-configuration" or "recommended settings" option for your first few profiles. These preset configurations ensure all fingerprint parameters are consistent and believable.
Step 4: Basic Profile Configuration
Before launching your profile, verify these settings:
- Cookies: Set to "Allow all cookies" for most use cases
- WebRTC: Should be set to "Altered" or "Disabled" to prevent IP leaks
- Geolocation: Match this to your proxy location (covered in Act 2)
- Language: Set to the primary language of your target region
- Timezone: Must match your proxy's geographic location
Common beginner mistake: Mixing incompatible settings (e.g., a New York timezone with London language settings). Always ensure your profile tells a consistent geographic story.
Use LycheeIP residential proxies
Act 2: Configuring Proxies (Deep Dive)
Why Proxies Are Essential
Even with a perfect browser fingerprint, websites can still link your accounts through your IP address. Proxies solve this by routing your connection through different servers, giving each profile a unique IP address.
Without proxies: All profiles share your home IP = instant detection
With proxies: Each profile has a unique IP = appears as separate users
Types of Proxies: Which Should You Choose?
1. HTTP/HTTPS Proxies
- Speed: Fast
- Cost: Cheapest ($1-3 per proxy)
- Detection risk: Moderate to high
- Best for: Low-risk activities, testing, bulk operations
2. SOCKS5 Proxies
- Speed: Fast
- Cost: Moderate ($2-5 per proxy)
- Detection risk: Moderate
- Best for: General multi-accounting, better protocol support
3. Residential Proxies
- Speed: Moderate
- Cost: Expensive ($5-15 per GB)
- Detection risk: Low
- Best for: High-value accounts (social media, e-commerce, financial platforms)
Beginner recommendation: Start with SOCKS5 for practice, then upgrade to residential proxies for accounts you care about. For platforms like Xbankang or other financial services, residential proxies are worth the investment.
Where to Get Proxies
Reputable proxy providers include:
- Bright Data (formerly Luminati)
- Smartproxy
- Oxylabs
- Proxy-Seller (affordable datacenter proxies)
- IPRoyal (good residential plans)
Budget tip: Many providers offer trial packages. Start with 5-10 proxies to test before committing to larger purchases.
Step-by-Step: Adding a Proxy to Your Profile
Once you've purchased proxies:
1. Open your browser profile settings
2. Navigate to the "Proxy" section
3. Select proxy type (HTTP, SOCKS5, or specify residential)
4. Enter proxy details:
- Host/IP address (e.g., 123.45.67.89)
- Port (e.g., 8080)
- Username (if authentication required)
- Password (if authentication required)
5. Click "Check Proxy" to verify the connection
6. Save the profile
Connection string format example:
```
socks5://username:password@123.45.67.89:8080
```
Most anti-detect browsers support importing proxies in bulk via text file, which is useful once you're managing multiple profiles.
Testing Your Proxy Connection
Before using a profile:
1. Launch the profile
2. Visit whatismyipaddress.com
3. Verify the displayed IP matches your proxy IP (not your real IP)
4. Check that the location matches your proxy's geographic location
If you see your real IP, your proxy isn't working. Double-check your settings and credentials.
Proxy Best Practices for Beginners
- One proxy per profile: Never reuse the same proxy across multiple profiles
- Match geolocation: Ensure timezone, language, and proxy location align
- Sticky sessions: For long-term accounts, use "sticky" or "static" residential proxies that maintain the same IP
- Rotation: For scraping or bulk operations, rotating proxies work better
- Quality over quantity: Five good residential proxies beat twenty poor datacenter ones
Use LycheeIP residential proxies
Act 3: Testing Your Digital Fingerprint for Proper Isolation
Why Testing Matters
Setting up profiles is one thing; verifying they actually work is another. Many beginners skip testing and wonder why their accounts get linked or banned. Proper testing ensures your digital fingerprints are truly unique and isolated.
Essential Fingerprint Testing Tools
1. BrowserLeaks.com
- Comprehensive fingerprint analysis
- Tests WebRTC, Canvas, fonts, and more
- Free and easy to use
2. Pixelscan.net
- Specifically designed for anti-detect browsers
- Provides "trustworthiness" score
- Shows inconsistencies in your fingerprint
3. IPLeak.net
- Quick IP and DNS leak detection
- Tests WebRTC leaks
- Simple interface for beginners
4. CreepJS
- Advanced fingerprinting detection
- Shows exactly what websites can see
- More technical but very thorough
How to Test Your Setup
Test each new profile with this checklist:
1. Launch your profile
2. Visit Pixelscan.net first
- Look for a "Trust Score" above 90%
- Check that no parameters are flagged as inconsistent
- Verify timezone matches proxy location
3. Run BrowserLeaks.com tests
- Canvas fingerprint test: Should show unique signature
- WebRTC test: Must NOT leak your real IP
- Font test: Should show consistent, realistic font list
4. Check IPLeak.net
- Confirm proxy IP displays (not your real IP)
- Verify no DNS leaks
- Ensure WebRTC doesn't reveal local IP
5. Test account-specific checks
- For Google accounts: Visit myaccount.google.com/security
- For Facebook: Check security settings for unusual logins
- For financial platforms: Ensure no security warnings
What to Look For: Red Flags vs. Green Lights
🚨 Red flags (fix immediately):
- Your real IP appears anywhere in tests
- Timezone doesn't match proxy location
- Fingerprint shows "high risk" or "bot detected"
- Inconsistent parameters (e.g., Windows OS with macOS fonts)
- WebRTC leaks detected
✅ Green lights (you're good):
- Proxy IP shows consistently across all tests
- Trust/uniqueness score above 85-90%
- All parameters match your configured location
- No consistency errors flagged
- Canvas/WebGL fingerprints are unique per profile
Common Beginner Mistakes
Mistake #1: Not checking WebRTC leaks
Even with a proxy, WebRTC can expose your real IP. Always verify it's disabled or properly spoofed.
Mistake #2: Reusing fingerprints
Some browsers allow you to clone profiles. Don't use identical fingerprints, slight variations are natural.
Mistake #3: Ignoring geolocation consistency
A New York IP with a Tokyo timezone screams "fake profile." Match everything geographically.
Mistake #4: Testing only once
Fingerprints can drift over time or after updates. Test periodically, especially after browser updates.
Mistake #5: Using free proxies
Free proxies are almost always flagged. Invest in quality proxies for accounts that matter.
Verifying Profile Isolation
To confirm your profiles are truly isolated:
1. Open two profiles simultaneously
2. Log into the same website on both (using different accounts)
3. Visit Pixelscan.net in each profile
4. Compare the fingerprint reports
They should show completely different:
- Canvas hashes
- WebGL hashes
- IP addresses
- Font lists (if you've configured different OSes)
- Hardware parameters
If the fingerprints look identical or very similar, your profiles aren't properly isolated, revisit your configuration settings.
Troubleshooting Common Issues
Problem: Website detects I'm using a proxy
Solution: Switch to residential proxies. Datacenter IPs are easier to detect.
Problem: Accounts keep getting linked despite different fingerprints
Solution: Check cookies and browser storage. Clear between sessions or use different payment methods if applicable.
Problem: Fingerprint tests show "inconsistent" parameters
Solution: Use your anti-detect browser's "auto-config" feature or manually ensure OS, screen resolution, and fonts all align.
Problem: Connection is very slow
Solution: Residential proxies are naturally slower. If speed is critical, try SOCKS5 or upgrade to premium residential providers.
The Final Piece of the Puzzle: Choosing Your Proxy Provider
As mentioned in Act 2, your anti-detect browser is only as secure as the proxy connected to it. Using low-quality or "burnt" IPs from overused providers is the quickest way to get a new profile flagged.
This is where a specialized provider like LycheeIP changes the game. Unlike standard retail proxy services, LycheeIP focuses on IP purity and operator-level stability, making it an ideal choice for high-stakes environments like e-commerce management and secure trading.
How LycheeIP Fits: The Infrastructure for Professional Stealth
This outline explains how LycheeIP functions as the network backbone for your anti-detect browser profiles, ensuring your hardware spoofing isn't undermined by poor network signals.
1. Superior IP Purity and "Cooling" Protocols
- The Problem: Most proxy providers recycle IPs immediately after a user finishes with them. If the previous user got banned on Amazon, you inherit that "bad reputation."
- The LycheeIP Solution: Every IP in the LycheeIP pool undergoes a 6-month cooling period before being reassigned. This ensures you receive a "clean slate" for every new profile you create.
- Operator-Direct Resources: Resources are allocated directly from underlying network operators rather than third-party resellers, significantly reducing latency and increasing connection success rates.
2. Tailored Proxy Types for Specific Browser Profiles
- Static Residential Proxies: Best for accounts that require a "permanent home," such as a main Amazon Seller central or a bank account. LycheeIP’s static IPs offer 99.9% uptime, ensuring you don't trigger "suspicious login" alerts due to IP changes.
- Dynamic Residential Proxies: Ideal for scraping, bulk account creation, or social media warming. With a pool of 90 million+ IPs covering 190+ countries, you can rotate your identity as often as your workflow requires.
- Static Datacenter Proxies: For high-speed tasks where residential trust is less critical, LycheeIP provides datacenter IPs with 1Gbps+ throughput and clear IDC attribute marking for easy management.
3. Precision Geo-Targeting and Technical Compatibility
- Perfect Syncing: LycheeIP allows for granular targeting (Country, State, City), which is essential for matching your browser profile's timezone and language settings.
- SOCKS5 & HTTP/S Support: Full protocol support ensures that whether you are using AdsPower, GoLogin, or Multilogin, the integration is a simple copy-paste process.
- Real-Time Monitoring: Use the LycheeIP web dashboard or developer API to track your traffic usage and IP health in near real-time, preventing unexpected session timeouts.
4. Enterprise-Grade Security and Support
- Whitelisting & Auth: Secure your proxies using IP whitelisting (up to 5 IPs for static residential) or standard user/pass authentication.
- 24/7 Expert Support: Because multi-accounting never sleeps, LycheeIP provides round-the-clock technical assistance to help you troubleshoot connection issues or optimize your setup.
Best Practices Checklist for Beginners
Before launching any profile for real use:
✅ Profile has a unique, quality proxy (residential preferred)
✅ Timezone matches proxy's geographic location
✅ Language and geolocation settings are consistent
✅ WebRTC is disabled or properly configured
✅ Tested on Pixelscan.net with 85%+ trust score
✅ No IP leaks detected on IPLeak.net
✅ Canvas and WebGL fingerprints are unique
✅ Profile naming system in place for organization
✅ Cookies and storage cleared between different account uses
✅ Regular testing scheduled (monthly minimum)
Ongoing Maintenance Tips
1. Regular fingerprint audits: Test your profiles monthly to catch any drift or issues.
2. Keep proxies fresh: Rotate or replace proxies if they become flagged (you'll notice more CAPTCHAs or blocks).
3. Update your anti-detect browser: Security patches and new anti-fingerprinting techniques are added regularly.
4. Document your profiles: Keep a spreadsheet tracking which proxy, timezone, and settings each profile uses.
5. Warm up new profiles: Don't immediately perform high-risk actions. Browse organically first to build "trust."
6. Separate sensitive accounts: Use your best proxies and most careful configuration for financial platforms, cryptocurrency exchanges, or any accounts with real money involved.
Security Recommendations
- Use 2FA: Enable two-factor authentication on all important accounts
- Unique passwords: Never reuse passwords across profiles
- Password manager: Use one integrated with your anti-detect browser
- Regular backups: Export your profiles periodically
- Clean workspace: Close unused profiles to minimize resource usage and potential conflicts
Next Steps for Advanced Users
Once you're comfortable with basic setup:
- Automate profile creation with browser APIs
- Set up proxy rotation for dynamic use cases
- Explore mobile fingerprints for mobile-specific platforms
- Use automation tools (Selenium, Puppeteer) within your anti-detect browser
- Join communities (forums, Discord servers) to share tips and stay updated
Conclusion
Setting up an anti-detect browser might seem complex initially, but by following this three-act process,; installation and profile creation, proxy configuration, and thorough testing, you'll establish a secure, undetectable multi-account system.
Remember: quality beats quantity. It's better to have five perfectly configured profiles than twenty poorly set up ones. Take time to test, verify, and refine your setup before relying on it for important accounts or business operations.
Whether you're managing social media, running e-commerce stores, trading on platforms securely, or simply value your digital privacy, anti-detect browsers give you the control and protection you need in today's tracked internet.
Start with one profile, test thoroughly, and scale gradually as you gain confidence. Before long, managing multiple digital identities will become second nature.
Ready to get started? Pick your browser, grab some quality proxies, and follow this guide step-by-step. Your first perfectly configured profile is just minutes away.
Use LycheeIP residential proxies
Frequently Asked Questions
Q: Do I need a VPN with an anti-detect browser?
A: Generally, no. Anti-detect browsers work with proxies, which already route your traffic through different IPs. Using a VPN on top of proxies can actually cause conflicts or performance issues. However, if you're accessing your anti-detect browser dashboard itself or want an extra layer of security for your real identity, a VPN for your base connection (outside the profiles) can be beneficial. Inside profiles, rely on proxies instead of VPNs.
Q: What's the difference between anti-detect browsers and incognito mode?
A: Incognito mode only prevents your browser from saving local history and cookies, websites can still fingerprint and track you perfectly. Anti-detect browsers go much further by spoofing or randomizing your canvas fingerprint, WebGL, fonts, hardware specs, timezone, and dozens of other parameters. They also support proxies to change your IP address. Incognito offers minimal privacy; anti-detect browsers offer professional-grade anonymity and account isolation.
Q: How many profiles can I create?
A: This depends on your anti-detect browser's pricing plan. Free tiers typically allow 5-10 profiles, while paid plans range from 50 to unlimited profiles. However, more important than quantity is quality. Each profile needs its own dedicated proxy. Most beginners should start with 5-10 well-configured profiles rather than attempting to manage dozens poorly set up ones.
Q: Are anti-detect browsers legal?
A: Yes, anti-detect browsers themselves are completely legal tools. They're software designed to protect your privacy, similar to VPNs. However, what you do with them must comply with laws and platform terms of service. Using them to commit fraud, hack accounts, or violate platform policies is illegal. Legitimate uses include privacy protection, managing multiple business accounts, affiliate marketing, and e-commerce, all perfectly legal when done within platform guidelines.
Q: What's the best proxy type for beginners?
A: Start with SOCKS5 proxies for learning and testing, they're affordable ($2-5 each) and reliable for most purposes. Once you're comfortable and managing accounts that matter (social media, e-commerce, financial platforms), upgrade to residential proxies. Residential proxies ($5-15 per GB) are harder to detect because they use real household IPs. Avoid free proxies entirely—they're almost always flagged and can compromise your accounts.

Recommended Articles
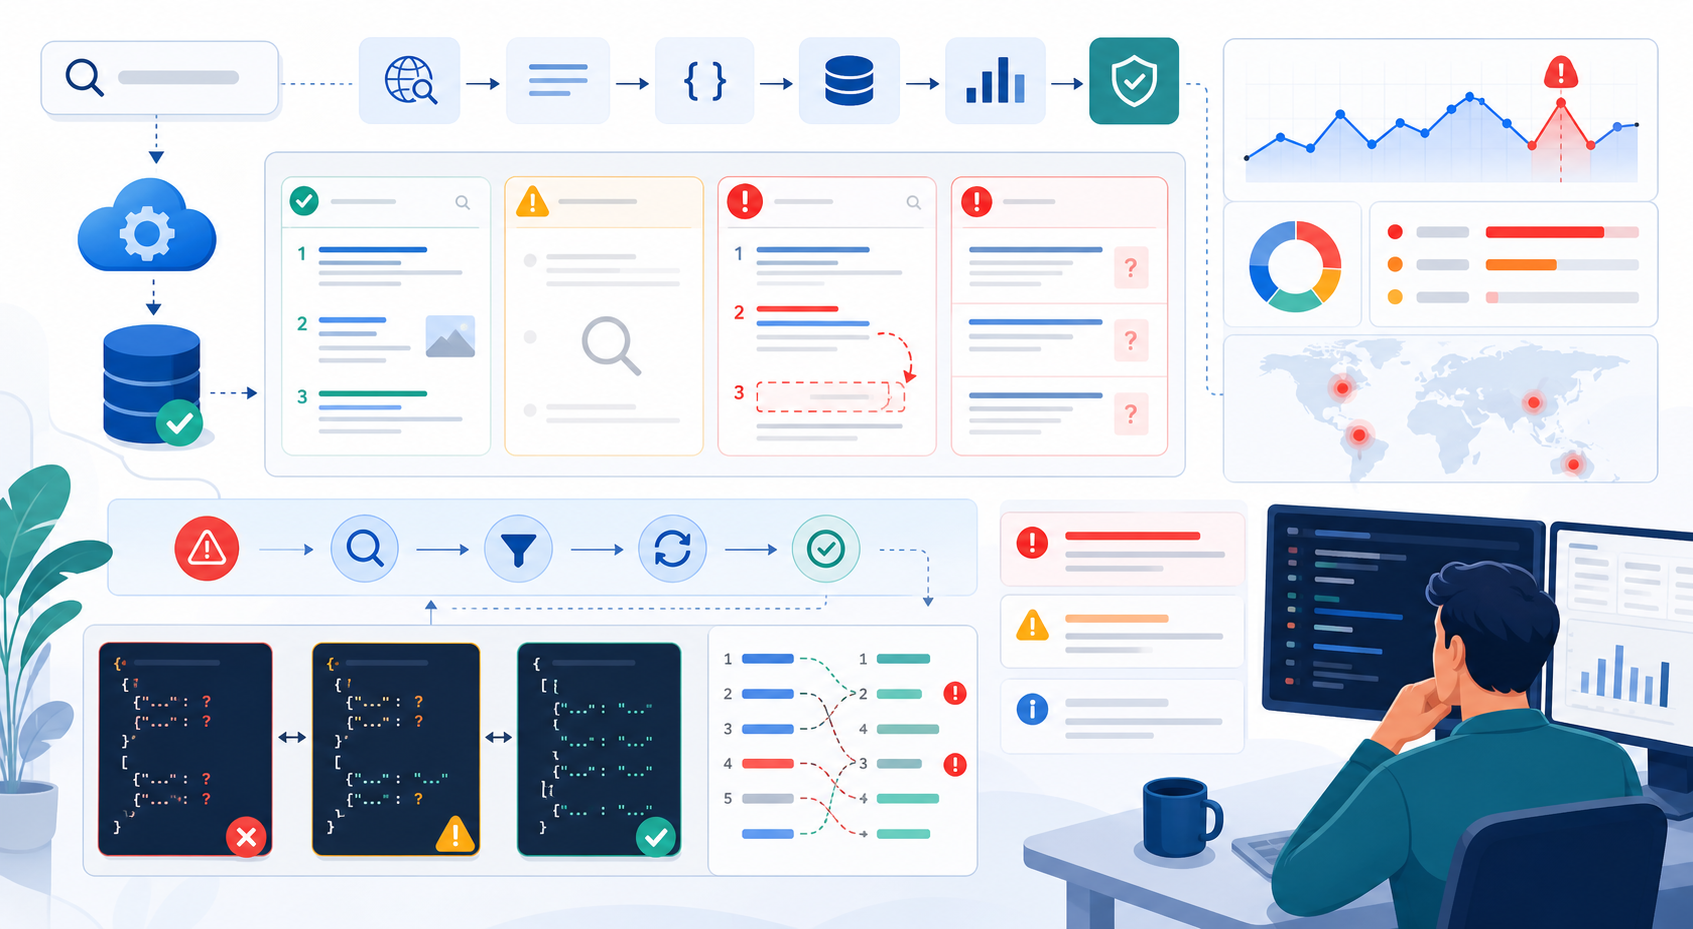
SERP API Troubleshooting: Fix Empty, Wrong, or Inconsistent Search Results
SERP API failures are not limited to obvious HTTP errors. A request can return successfully and still produce empty, incomplete, geographically wrong, duplicated, or misinterpreted search data. Production troubleshooting therefore has to separate transport problems from provider processing, SERP differences, and downstream parsing errors.
View Details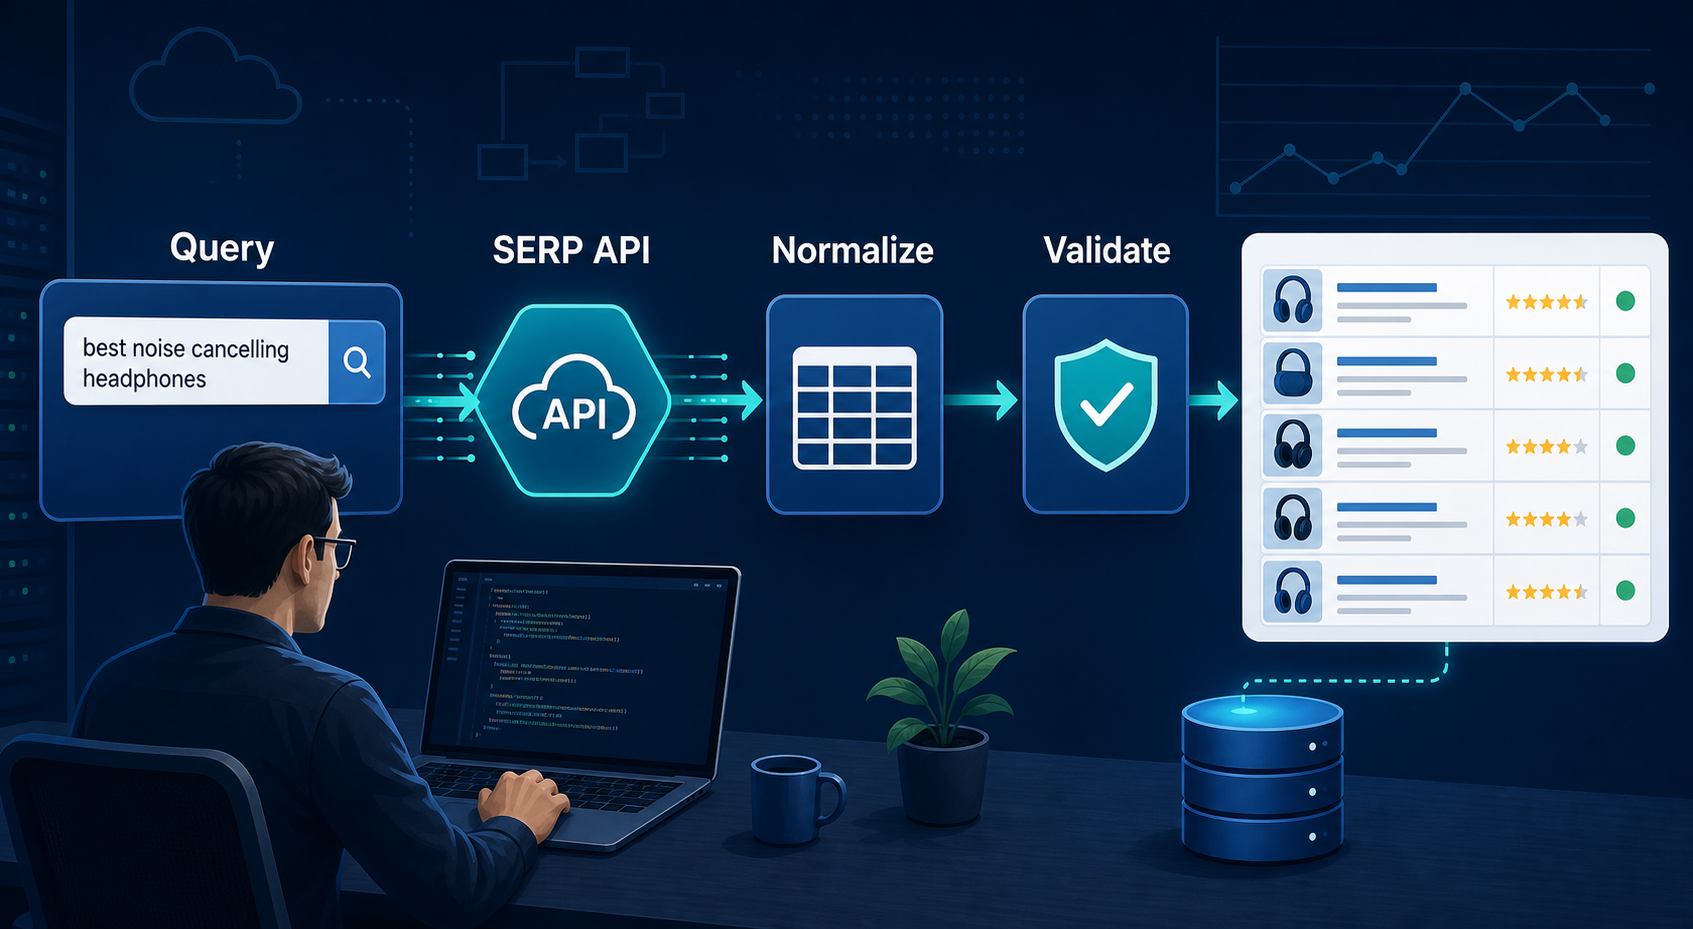
SERP API Python: How to Build a Reliable Search Data Pipeline
This guide shows a provider-neutral workflow for building that pipeline. It does not rank SERP API vendors. Instead, it focuses on the implementation choices that make a Python integration easier to operate, test, and migrate.
View Details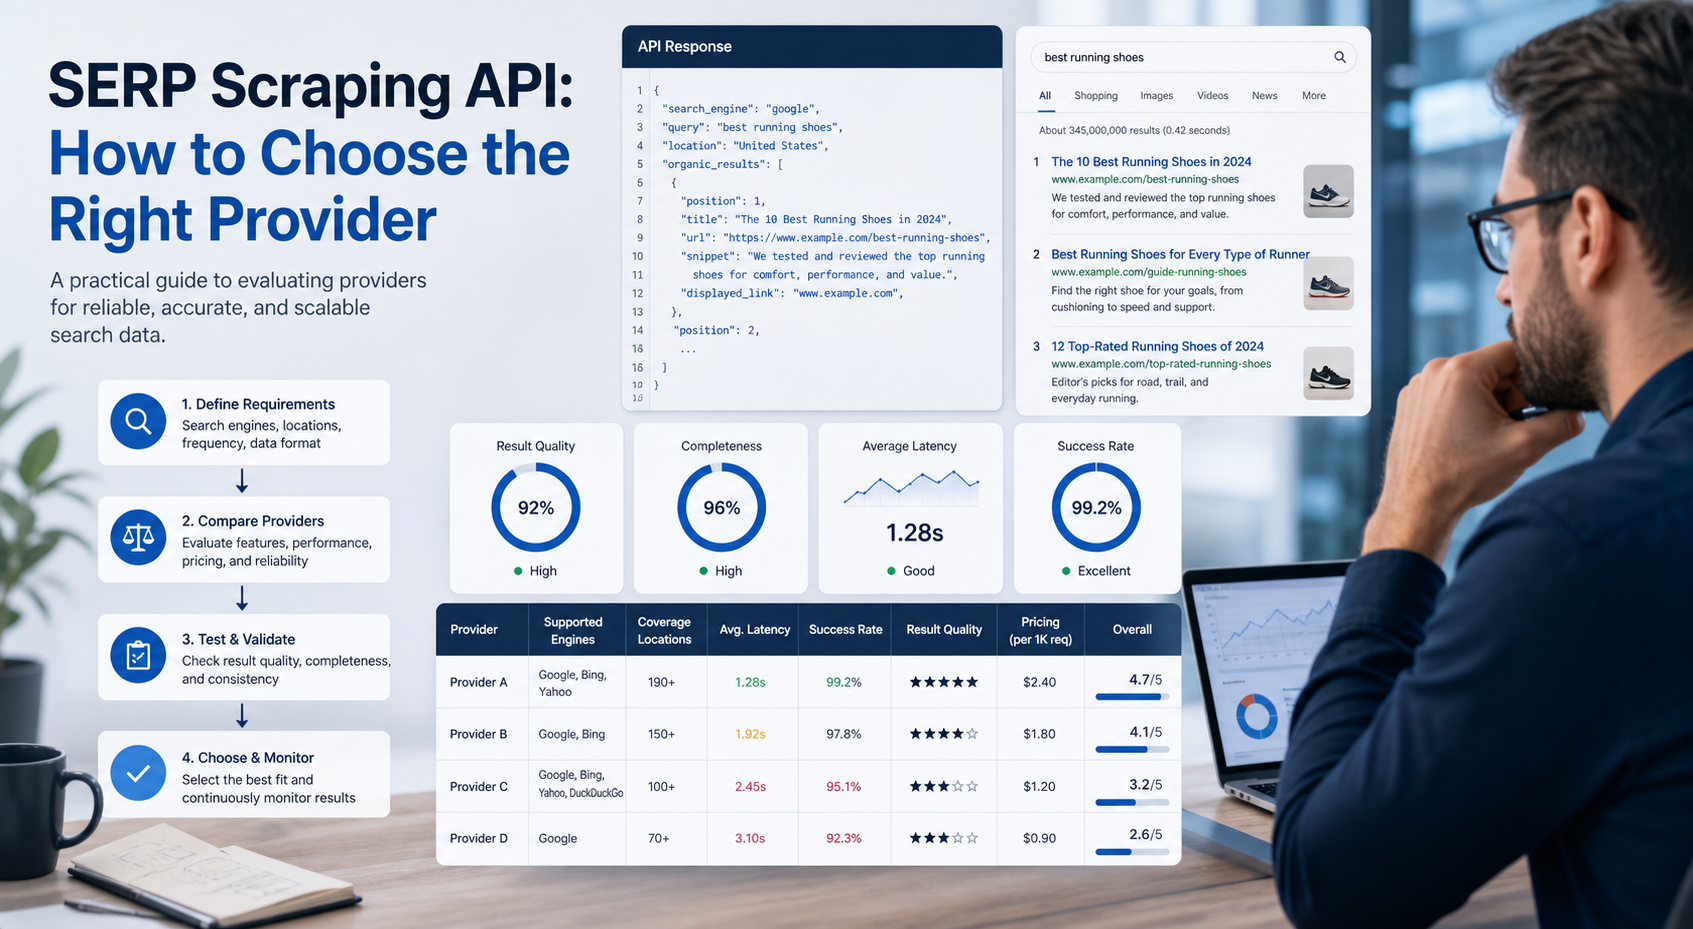
SERP Scraping API: How to Choose the Right Provider
Recommended Meta Description: Compare SERP scraping APIs by data coverage, localization, reliability, workflow fit, and cost structure, then choose and validate the right provider.
View Details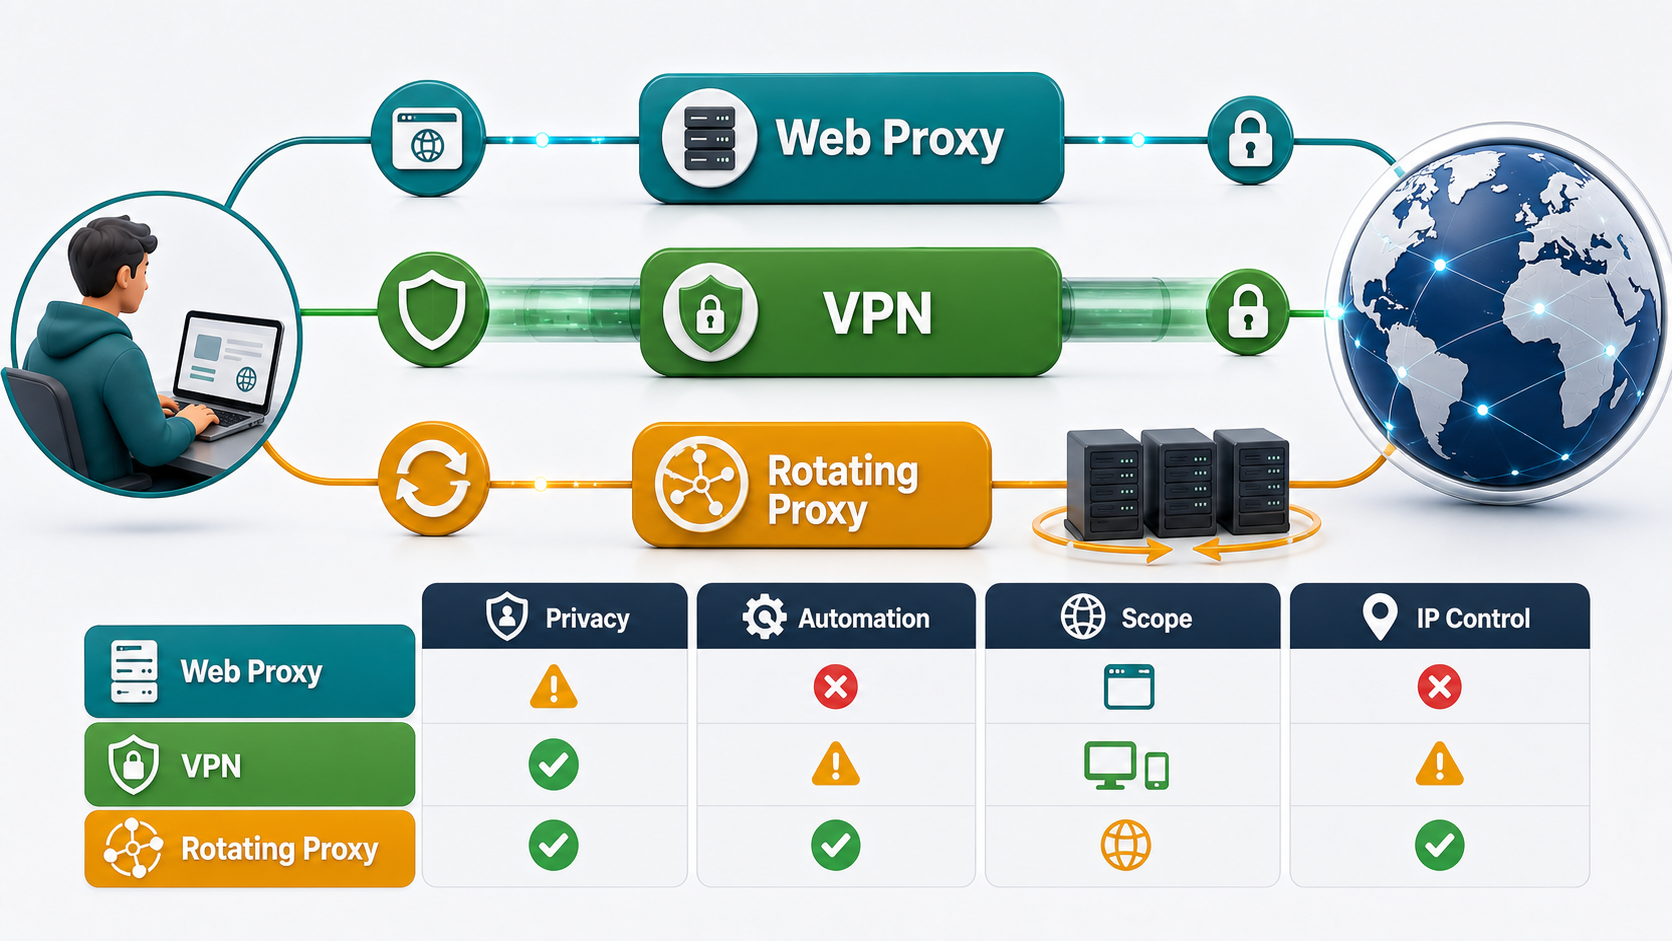
Free Web Proxy vs VPN vs Rotating Proxy: Which Should You Use?
Compare free web proxies, VPNs, rotating proxies, static proxies, and datacenter proxies by scope, encryption, IP control, automation, streaming, and account workflows.
View Details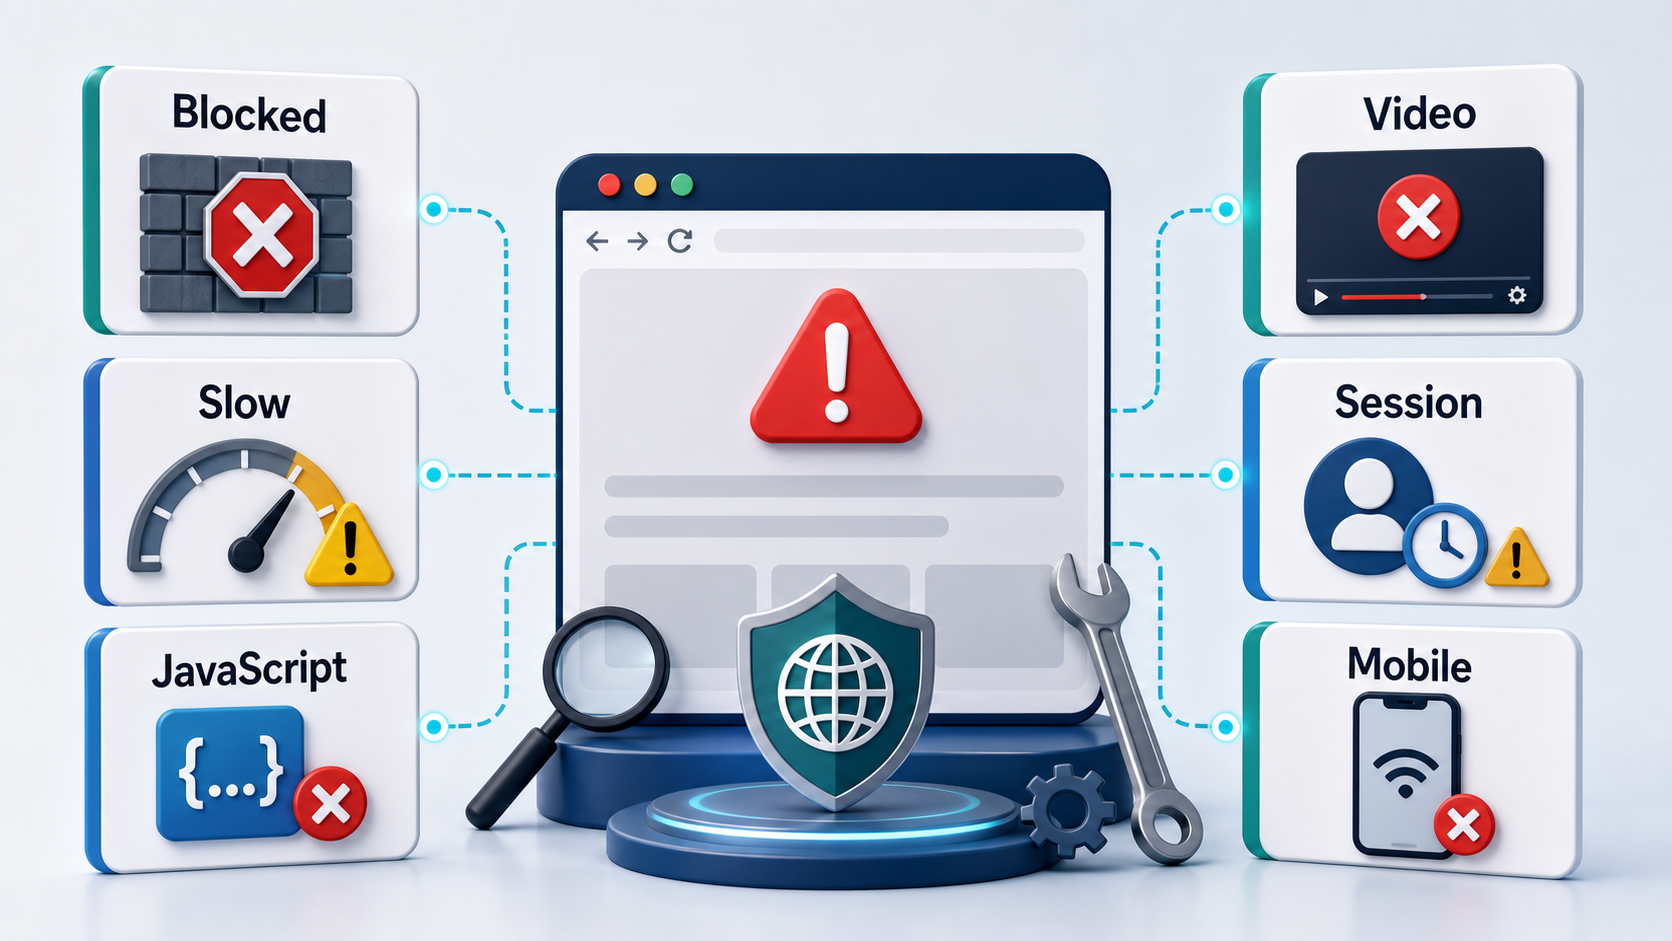
BlockAway Not Working? Fix Common Proxy, Video, and Access Problems
Troubleshoot BlockAway when pages are blocked, YouTube fails, JavaScript breaks, speed drops, sessions expire, or mobile access behaves differently.
View Details