
How to Setup Chrome Proxy: A Practical Walkthrough
How to Setup Chrome Proxy: A Practical Walkthrough
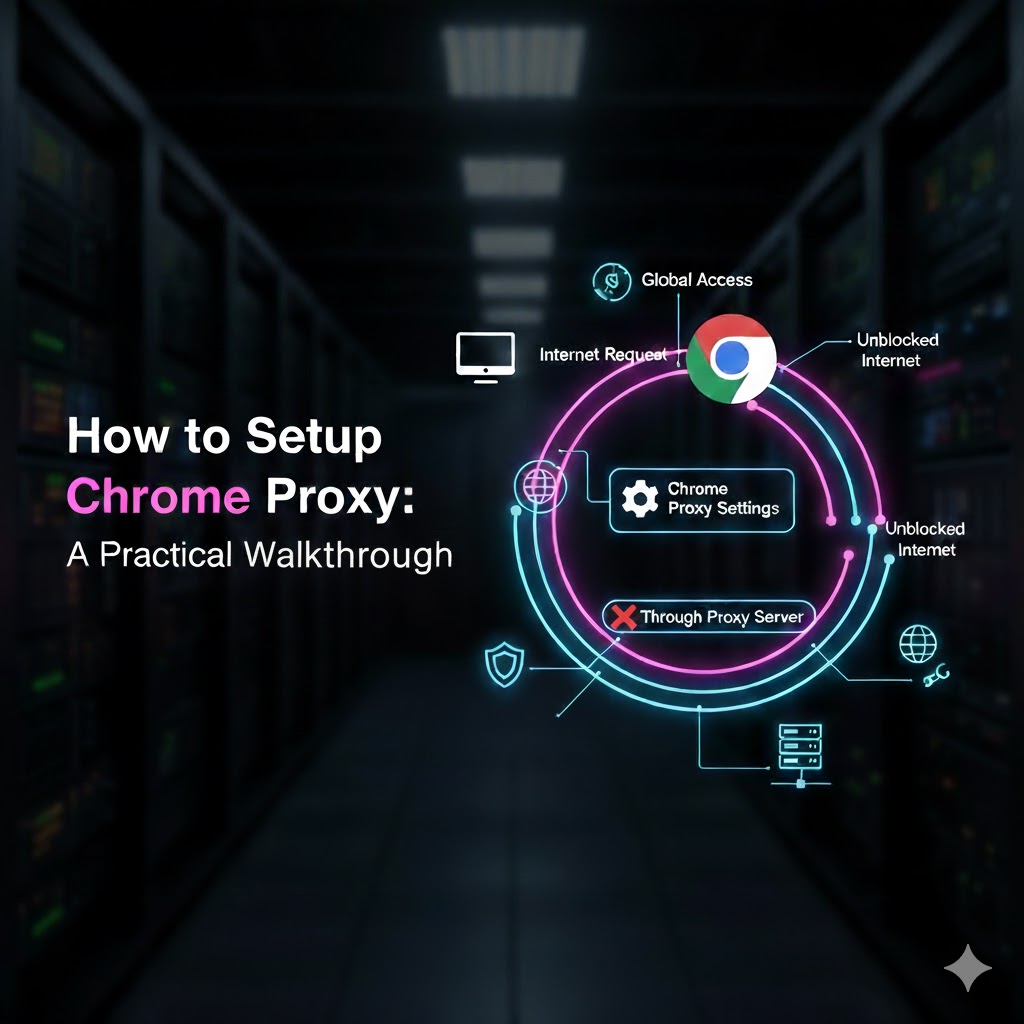
Learning how to setup Chrome proxy configurations is a critical skill for everyone from general users to advanced data engineers. It allows you to control how your browser connects to the internet, route your traffic through a specific server, and test or access content from different locations.
However, Chrome handles proxies differently than other apps. This guide provides a practical walkthrough for every method to setup Chrome proxy, from the basic how to set proxy in Chrome in Windows 10 for daily use to the advanced chrome proxy command line for developers. We'll also cover specific use cases, like using a chrome proxy socks5 connection or configuring it for security testing tools.
What is a Chrome proxy setting?
A Chrome proxy setting is a configuration that routes your browser's internet traffic through an intermediary server, known as a proxy server. When you use a proxy, your web requests (e.g., loading a website) are sent to the proxy server first, which then forwards them to the destination website. The website sees the request coming from the proxy's IP address, not your own.
Why Chrome uses your system's proxy settings
A common point of confusion when trying to setup Chrome proxy is that Google Chrome does not have its own, built-in proxy settings menu. Instead, Chrome "inherits" or uses the proxy settings from your computer's operating system.
This means that if you configure a proxy in Windows 10 or macOS, Chrome (and often other applications like Microsoft Edge) will automatically use it. This design choice simplifies network management for IT administrators but can be surprising for users who expect a browser-specific setting. The only ways to bypass this system-wide setting are by using a chrome proxy command line flag or a browser extension.
What are the main benefits of a proxy in Chrome?
Configuring a proxy in Chrome provides several practical benefits for both consumers and technical teams:
- Geo-location Testing: Growth teams and developers can route their traffic through a proxy in a different country to see how websites, ads, or applications appear to users in that region.
- Data Collection: Data engineers use rotating proxies to gather public web data without being blocked or rate-limited based on their IP address.
- Security Testing: Security professionals set proxy in Chrome for Burp Suite or other tools to intercept and analyze the traffic between the browser and the server.
- Access Control: Users can bypass simple IP-based restrictions on networks or websites.
How do you set proxy in Chrome in Windows 10?
You set proxy in Chrome in Windows 10 by modifying the system-wide proxy settings in the Windows 10 "Network & Internet" menu, which Chrome automatically uses.
This is the most common method for a manual setup Chrome proxy configuration. While you start the process inside Chrome, it will redirect you to your operating system's settings to complete it.
Step-by-step: Using the Windows 10 Settings
Here is the exact process for how to set proxy in Chrome in Windows 10:
- Open Chrome Settings: In your Chrome browser, click the three-dot menu in the top-right corner and select Settings.
- Find System Settings: In the Settings menu, type "Proxy" into the search bar, or scroll down and click on System.
- Open OS Settings: Click on the option that says Open your computer's proxy settings.
- Configure in Windows: This will open the Windows 10 Settings app and take you to the Network & Internet > Proxy page.
- Enable Manual Proxy: Scroll down to the Manual proxy setup section. Toggle the switch for Use a proxy server to On.
- Enter Details: In the Address and Port fields, enter the IP address (or hostname) and port number provided by your proxy service.
- Save: Click the Save button.
Your Chrome browser, along with other system apps, will now route traffic through the proxy you specified. To stop using the proxy, you must return to this same Windows menu and toggle Use a proxy server to Off.
How to set up a proxy on macOS
The process on a Mac is very similar, as Chrome also redirects you to the system settings:
- In Chrome, go to Settings > System > Open your computer's proxy settings.
- This opens the Network preferences pane in macOS.
- Select your active network service (e.g., Wi-Fi) from the list on the left and click the Advanced... button.
- Go to the Proxies tab.
- Check the box for the protocol you want to configure, such as Web Proxy (HTTP) or Secure Web Proxy (HTTPS).
- Enter the proxy server's address and port number. If your proxy requires a password, check the "Proxy server requires password" box and enter your credentials when prompted.
- Click OK, then click Apply.
Build with LycheeIP’s clean, rotating proxies
How can you use a chrome proxy command line?
You can use a chrome proxy command line flag to launch a new Chrome instance that uses a specific proxy server, completely bypassing the system settings.
This is the preferred method for developers, data engineers, and automation scripts because it doesn't affect your entire operating system and can be easily automated.
Using the --proxy-server flag for automation
The most important chrome proxy command line argument is --proxy-server. You use this flag when launching Chrome from your terminal (like Command Prompt, PowerShell, or macOS Terminal).
Here is a real-world example:
Bash
# On Windows (from Command Prompt)
"C:\Program Files\Google\Chrome\Application\chrome.exe" --proxy-server="http://your.proxy.address:8080"
# On macOS (from Terminal)
/Applications/Google\ Chrome.app/Contents/MacOS/Google\ Chrome --proxy-server="http://your.proxy.address:8080"
This command forces this specific Chrome session to use the proxy at your.proxy.address:8080. When you close this browser window, the setting is gone. This is perfect for running automated tests or scraping scripts without changing your main browser's configuration.
Setting up separate profiles with different proxies
You can combine the chrome proxy command line flag with the --user-data-dir flag to create isolated Chrome profiles, each with its own proxy. This is invaluable for growth teams testing multiple accounts.
Example for Profile 1 (USA Proxy):
Bash
chrome.exe --user-data-dir="C:\ChromeProfiles\Profile1" --proxy-server="http://us.proxy.com:8001"
Example for Profile 2 (UK Proxy):
Bash
chrome.exe --user-data-dir="C:\ChromeProfiles\Profile2" --proxy-server="http://uk.proxy.com:8002"
This launches two separate Chrome instances that do not share cookies or sessions, each routed through a different IP.
How do you set proxy in Chrome for Burp Suite?
You set proxy in Chrome for Burp Suite by using the chrome proxy command line flag to point Chrome's traffic to the local port Burp Suite is listening on, which is 127.0.0.1:8080 by default.
This is a critical task for security researchers and web developers. Using the system-wide proxy setting (as shown in the how to set proxy in Chrome in Windows 10 method) will work, but it sends all your system's traffic to Burp, which can be noisy. The command line method is cleaner.
Configuring Chrome to work with local security tools
To properly set proxy in Chrome for Burp Suite, you need to do two things:
- Launch Chrome with the Proxy Flag: Open your terminal and run the following command. This tells Chrome to send all its traffic to Burp Suite.
- Bash
# This is the standard command to set proxy in Chrome for Burp Suite
chrome.exe --proxy-server="http://127.0.0.1:8080"
3. Handle SSL Errors: When Burp Suite intercepts HTTPS traffic, it presents its own self-signed SSL certificate, which Chrome will not trust. You can either:
- (Recommended) Import the Burp CA certificate into Chrome's trust store.
- (Quick & Dirty) Launch Chrome with an additional flag to ignore all certificate errors. Warning: Only do this for testing, as it is highly insecure.
4. Bash
# Insecure method for testing ONLY
chrome.exe --proxy-server="http://127.0.0.1:8080" --ignore-certificate-errors
Verifying your Burp Suite connection
After you set proxy in Chrome for Burp Suite, you can verify it's working:
- In Burp Suite, go to the Proxy > Intercept tab and make sure Intercept is on.
- In the Chrome window you launched, try to visit any website (e.g., http://example.com).
- The request should be "stuck" loading in Chrome, and you should see the raw HTTP request details appear in your Burp Suite Intercept tab. This confirms your setup Chrome proxy configuration is successful.
Build with LycheeIP’s clean, rotating proxies
Which proxy types work best with Google Chrome?
The best proxy types for Google Chrome are HTTP/HTTPS and SOCKS5, each serving different purposes for browsing or advanced applications. You can configure either type using the system settings or the chrome proxy command line method.
Why use a chrome proxy socks5 setup?
A chrome proxy socks5 setup is more advanced and flexible than a standard HTTP proxy.
- HTTP Proxies (Layer 7) only understand web traffic.
- SOCKS5 Proxies (Layer 5) can handle any type of internet traffic, including protocols for P2P, game clients, or FTP.
While Chrome itself primarily deals with web traffic, using a chrome proxy socks5 configuration can be more reliable, especially if the proxy provider's infrastructure is optimized for SOCKS5.
You can set up a chrome proxy socks5 connection using the command line:
Bash
# Note the "socks5://" prefix
chrome.exe --proxy-server="socks5://your.proxy.address:1080"
This is a powerful option for developers whose applications require routing diverse traffic types through a single proxy endpoint.
What about using a proxy extension?
A free proxy google chrome extension is often the first thing users find. These extensions are popular because they are easy to install and don't require changing system settings.
- Pros: Convenient for quick IP switching, often free.
- Cons: Can be slow, unreliable, and are a major security risk (see next section). They may also not work in Incognito mode by default and are not suitable for automation.
Comparison Table: System vs. Extension vs. CLI
| Method | How It Works | Best For | Reliability |
| System Settings | Changes OS-level proxy. | General users, non-technical setup. | High (but affects all apps). |
| Proxy Extension | Injects settings into the browser. | Quick, temporary IP changes. | Low to Medium (can be buggy). |
| chrome proxy command line | Launches a dedicated session. | Developers, automation, testing. | Very High (isolated & scriptable). |
Why should you avoid a free proxy google chrome?
You should avoid a free proxy google chrome service or extension because they are often unreliable, slow, and pose significant security and privacy risks. If a service is free, you are not the customer; you (and your data) are the product.
The risks: Security, performance, and data
Many users searching for a free proxy google chrome solution are unaware of the dangers:
- Data Logging: Free providers often log all your browsing activity, including usernames, passwords, and personal information, which they can then sell to third parties.
- Malware Injection: Some malicious free proxy google chrome services actively inject their own ads or even malware (like ransomware or spyware) into the websites you visit.
- Banned IPs: The IPs used by free proxies are shared by thousands of users and are almost always blacklisted by major websites, making them useless for data collection or accessing content.
- No Reliability: They are slow, unstable, and have no customer support or uptime guarantees.
How a provider like LycheeIP differs
For any serious developer or data-driven company, the risks of a free proxy google chrome service are unacceptable. A professional, developer-first provider like LycheeIP is built on a different foundation:
- Clean IPs: We provide premium, clean residential and datacenter proxy pools. Our IPs are not overused or blacklisted, ensuring high success rates for your tasks.
- Simple Integration: We believe in simplicity over complex unlockers. We provide you with a reliable, high-performance proxy endpoint that you can plug directly into your chrome proxy command line script or application.
- Trust & Transparency: We offer clear, transparent pricing and responsive support. We are a partner in your data infrastructure, not a service that spies on your traffic.
Using a high-quality proxy for your setup Chrome proxy configuration is the difference between failed jobs and reliable, scalable data.
Conclusion
Successfully learning how to setup Chrome proxy gives you precise control over your browser's traffic. While the standard method requires you to set proxy in Chrome in Windows 10 or macOS system settings, the true power for developers lies in the chrome proxy command line.
This developer-focused approach allows for automation, profile isolation, and clean integration with tools like Burp Suite. Whether you use a standard HTTP proxy or a more flexible chrome proxy socks5 connection, always avoid insecure free proxy google chrome services in favor of a reliable provider.
Build with LycheeIP’s clean, rotating proxies
Frequently Asked Questions:
1. Does Chrome have its own proxy settings?
No. Google Chrome does not have its own application-specific proxy settings. When you click "Open your computer's proxy settings" in Chrome's System menu, it redirects you to your operating system's (Windows or macOS) system-wide proxy settings.
2. How can I test if my setup chrome proxy is working?
The easiest way is to visit an IP-checking website (like whatismyip.com) before and after you configure the proxy. If the setup Chrome proxy was successful, you should see the proxy server's IP address and location, not your own.
3. What's the best way to use a chrome proxy socks5 connection?
The best way for a developer is to use the chrome proxy command line flag: chrome.exe --proxy-server="socks5://your.proxy.address:1080". This ensures only that Chrome session uses the SOCKS5 proxy, which is ideal for testing applications that require non-HTTP traffic.
4. Is it safe to use a free proxy google chrome extension?
It is strongly discouraged. A free proxy google chrome extension often logs your browsing data, sells it, or even injects malicious ads. For any task requiring security or reliability, a paid proxy service is essential.
5. Can I use a different proxy for different Chrome profiles?
Yes. You can achieve this by launching separate Chrome instances using the chrome proxy command line flag combined with the --user-data-dir flag. This allows you to run multiple profiles simultaneously, each with its own unique proxy server and isolated cookie jar.
6. Why won't my proxy work for Burp Suite?
The most common issue when you set proxy in Chrome for Burp Suite is an SSL certificate error. Chrome will not trust Burp's self-signed certificate. You must either import the Burp CA certificate into Chrome's trust store or (for insecure testing only) use the --ignore-certificate-errors launch flag.

推荐文章

Google账号被停用怎么办?8类官方提示拆解与应对方法
详解 Google 账号8类官方停用提示,拆解平台风控判定机制,结合多账号运营场景,提供环境优化及合规使用解决办法。
查看详情
WhatsApp账号养成指南:从新号到稳定使用全流程
拆解 2026 年 WhatsApp 底层风控逻辑,分享保姆级 21 天分阶段养号 SOP,规范行为与网络环境,大幅降低账号限制、封禁风险。
查看详情
X(Twitter)新手养号教程:从0到高权重账号稳定运营
本文详解2026年注册、冷启动、稳定期全流程,以及六大实用技巧,帮助运营者规避限流与封号风险,实现高权重账号自然增长。
查看详情
Talkatone收不到验证码?2026常见原因与解决指南
系统拆解Talkatone验证码接收失败的常见原因,从号码类型、网络环境到设备设置提供对应解决思路,帮助提升验证成功率。
查看详情
免费获取美国号码指南:Talkatone注册与保号全流程
系统讲解如何通过Talkatone获取美国号码,并从注册环境、使用习惯与保号策略三方面,提升号码稳定性与长期可用性。
查看详情